From the conversion glossary
Concepts referenced in this article, defined.
Learn how to run A/B tests on your Shopify store—no coding needed. Discover what to test, how to do it, and how CustomFit.ai makes it simple.
Concepts referenced in this article, defined.
Run rigorous A/B tests and personalize every visit on Shopify or any storefront — no engineers required.
If you've ever wondered whether a red "Buy Now" button might work better than a green one, or whether showing reviews higher on your product page could get more people to click "Add to Cart," you're already thinking like an A/B tester.
A/B testing (split testing) is one of the most underrated things available to any Shopify store owner. It's not about guessing or blindly following trends. It's about letting your customers tell you, through their actions, what's working and what's not.
This post breaks down what you need to start A/B testing on your Shopify store: what to test, how to set it up (without needing to code), and how to make sense of the results. We'll also look at how platforms like CustomFit.ai make the whole thing a lot less intimidating than it sounds.
Say you have a landing page for your bestselling moisturizer.
In Version A (your current setup), the headline says:
"Hydration That Lasts All Day."
In Version B (the test), it says:
"Say Goodbye to Dry Skin in 7 Days."
You split your visitors in half. Some see Version A, others see Version B. Then you compare how many people end up buying the product. That's A/B testing.
It works because instead of guessing which version will perform better, you run a controlled experiment. You watch real visitors make real decisions and learn from the outcome.
Even small changes like font size or button placement can make surprising differences. But you'll never know until you test.
Here's where things usually fall apart for most store owners. They want to A/B test, but they assume it's too technical, too time-consuming, or too expensive. That's fair if you're relying on traditional developer-heavy tools, where it can feel like overkill.
That's where CustomFit.ai comes in. With CustomFit, you can run A/B tests directly on your Shopify store without writing a single line of code. Want to try a different CTA text? Test a new product image? Reorder testimonials on the page? You can do it all through a simple visual editor, and the changes only show up to specific visitors, so your original site stays intact.
It also tracks the results clearly. No jargon, just answers.
If you'd like to see how this works on your own store, you can book a short demo session here. We'll walk you through it step-by-step, no pressure, just clarity.
What makes CustomFit a little different is that it doesn't stop at A/B testing. You can go one step further and personalize content for visitors based on where they're coming from, what they've clicked before, or whether they've purchased already. It's like A/B testing but smarter.
If you're just getting started, don't try to test everything at once. That's like changing 10 things in a recipe and not knowing which one made the dish taste better.
Instead, focus on areas where small tweaks can lead to noticeable results. Here are a few reliable places to start.
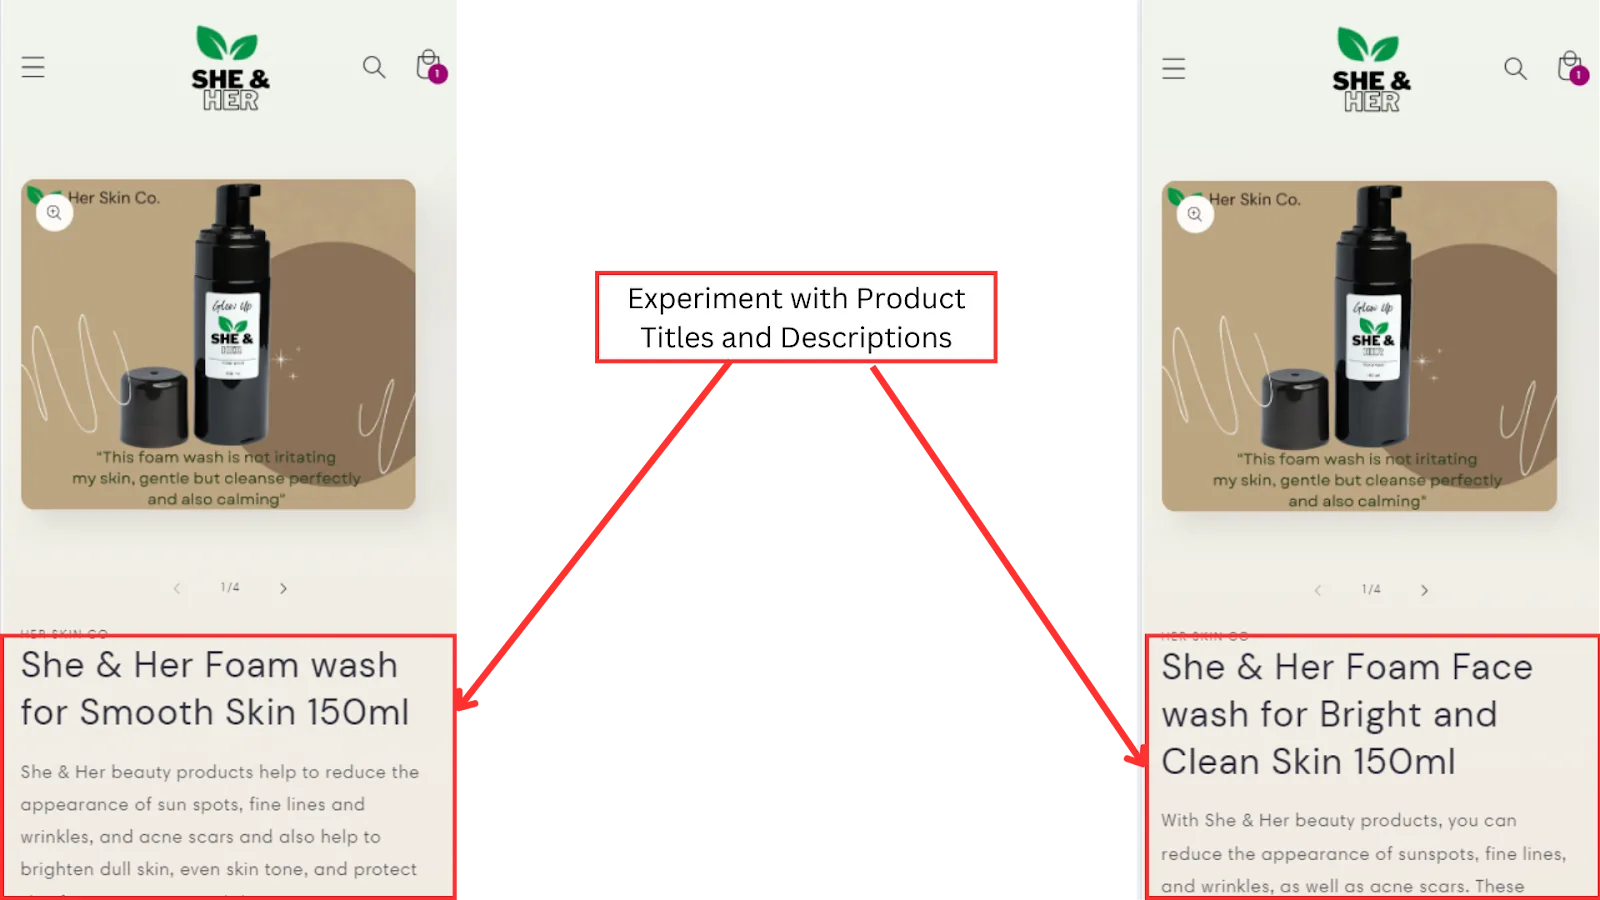
Your headlines are often the first thing visitors read. Are you being clear? Persuasive? Relatable? Try testing a benefit-driven headline against a curiosity-based one.
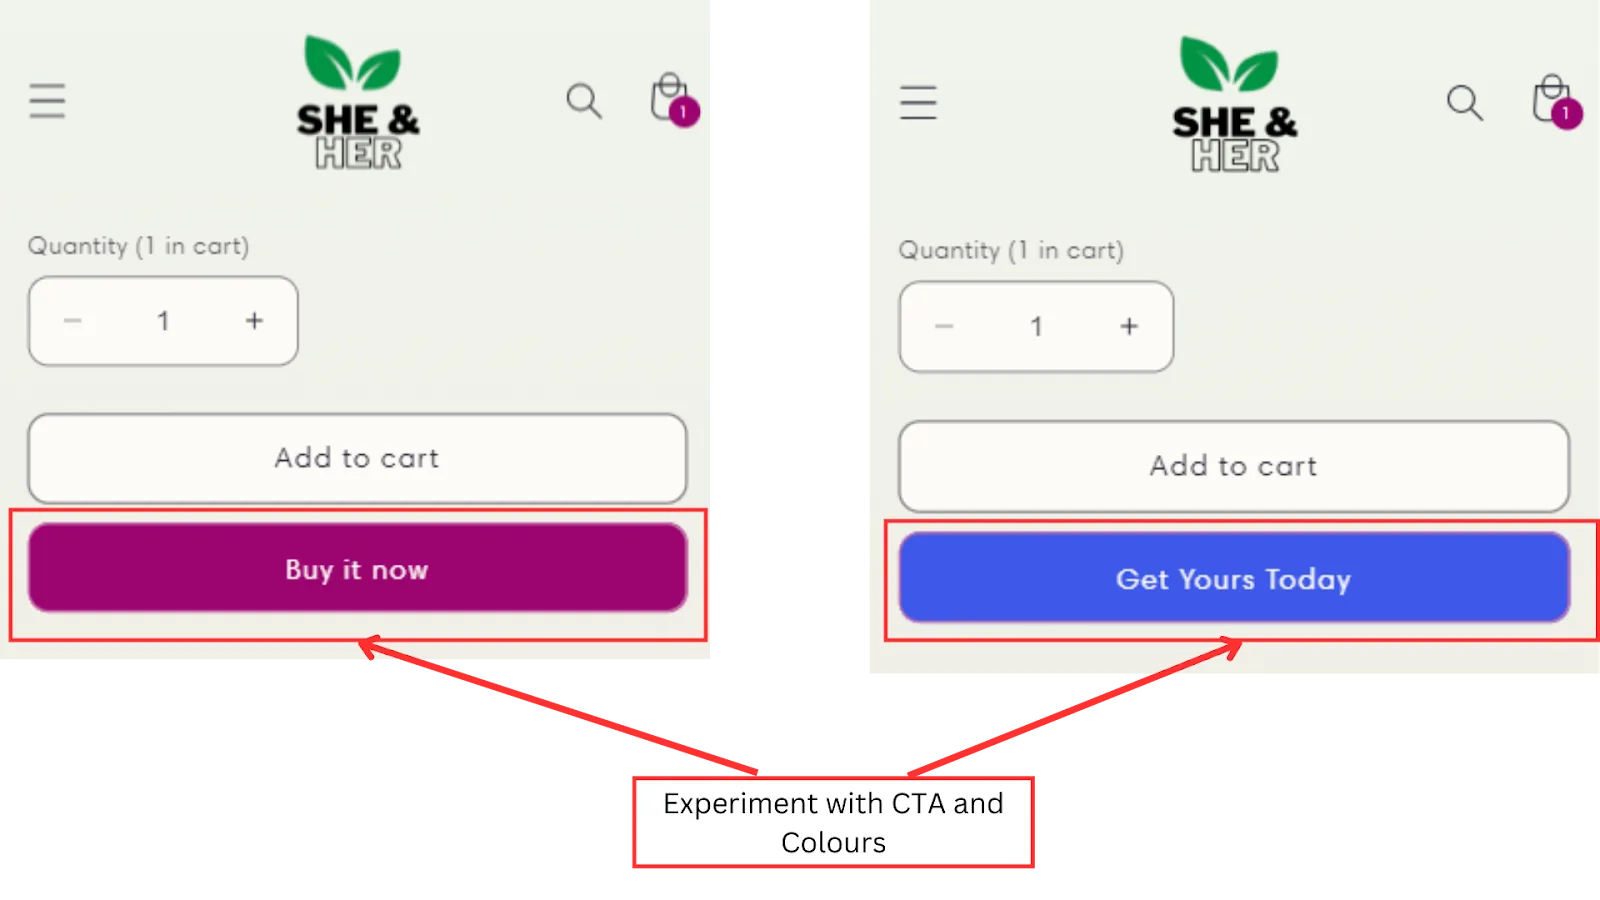
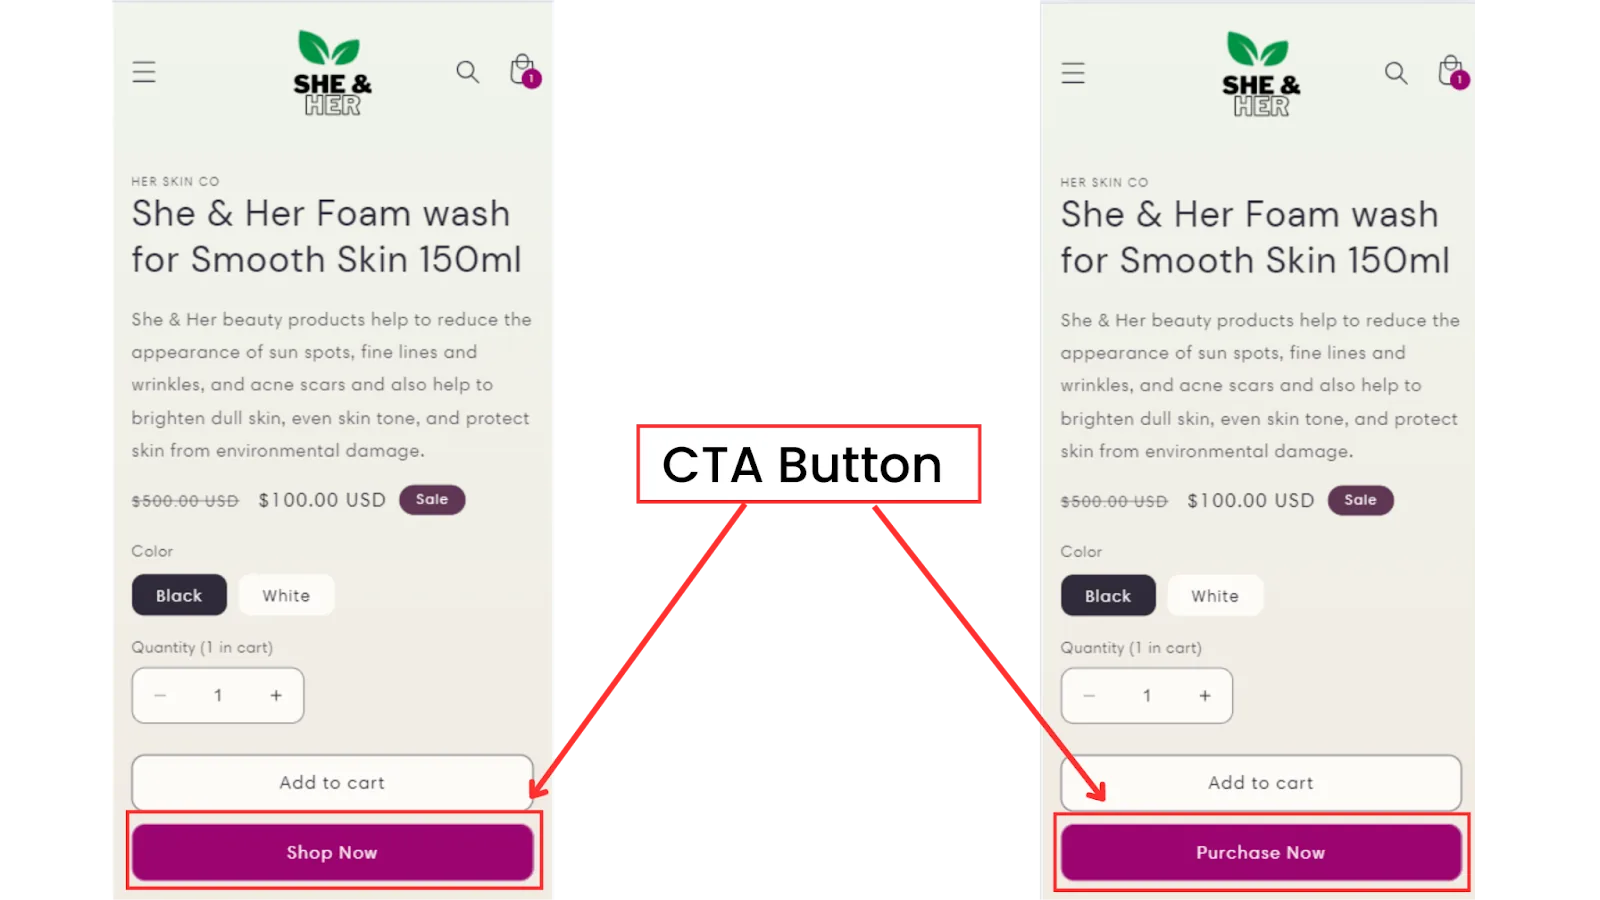
"Shop Now" vs. "Claim Your Offer" might not sound drastically different, but one may feel more urgent to your customer. Try different CTA texts, colours, or even placement on the page.
This is where purchase decisions happen. Test:

Cart abandonment happens fast. Try simplifying your checkout form, offering guest checkout, or testing different trust signals like badges or guarantees.
Are you running paid campaigns? Create dedicated landing pages and test different messages, images, and layouts tailored to those specific audiences.
Running A/B tests is easy. Running good ones that lead to real insights takes a little discipline. Here's what to keep in mind.
If you test a new headline and a new image in the same experiment, you won't know which one made the difference. Keep tests focused.
It's tempting to declare a winner after two days. Don't. Give your test at least 1-2 weeks (depending on traffic) to reach a meaningful result.
Are you trying to get more clicks, more add-to-carts, or more purchases? Pick one clear metric before you start testing.
Even a test that doesn't improve conversions is still worth running. It tells you what doesn't work, and that's one step closer to what does.
Document what you tested, what the result was, and what you learned. Over time, this becomes your own playbook for what your audience responds to.
There are a few ways to implement A/B testing on Shopify, but not all of them are beginner-friendly. The most common routes are:
If you're looking for something more approachable, CustomFit.ai offers a no-code way to start testing and personalizing content on your site within minutes. Here's how it works.
Start simple. For example: "Does adding urgency ('Only 2 left!') near the product title increase purchases?"
Using CustomFit's visual editor, create a new version of the element, no dev help needed. You can edit text, rearrange sections, change images, and more.
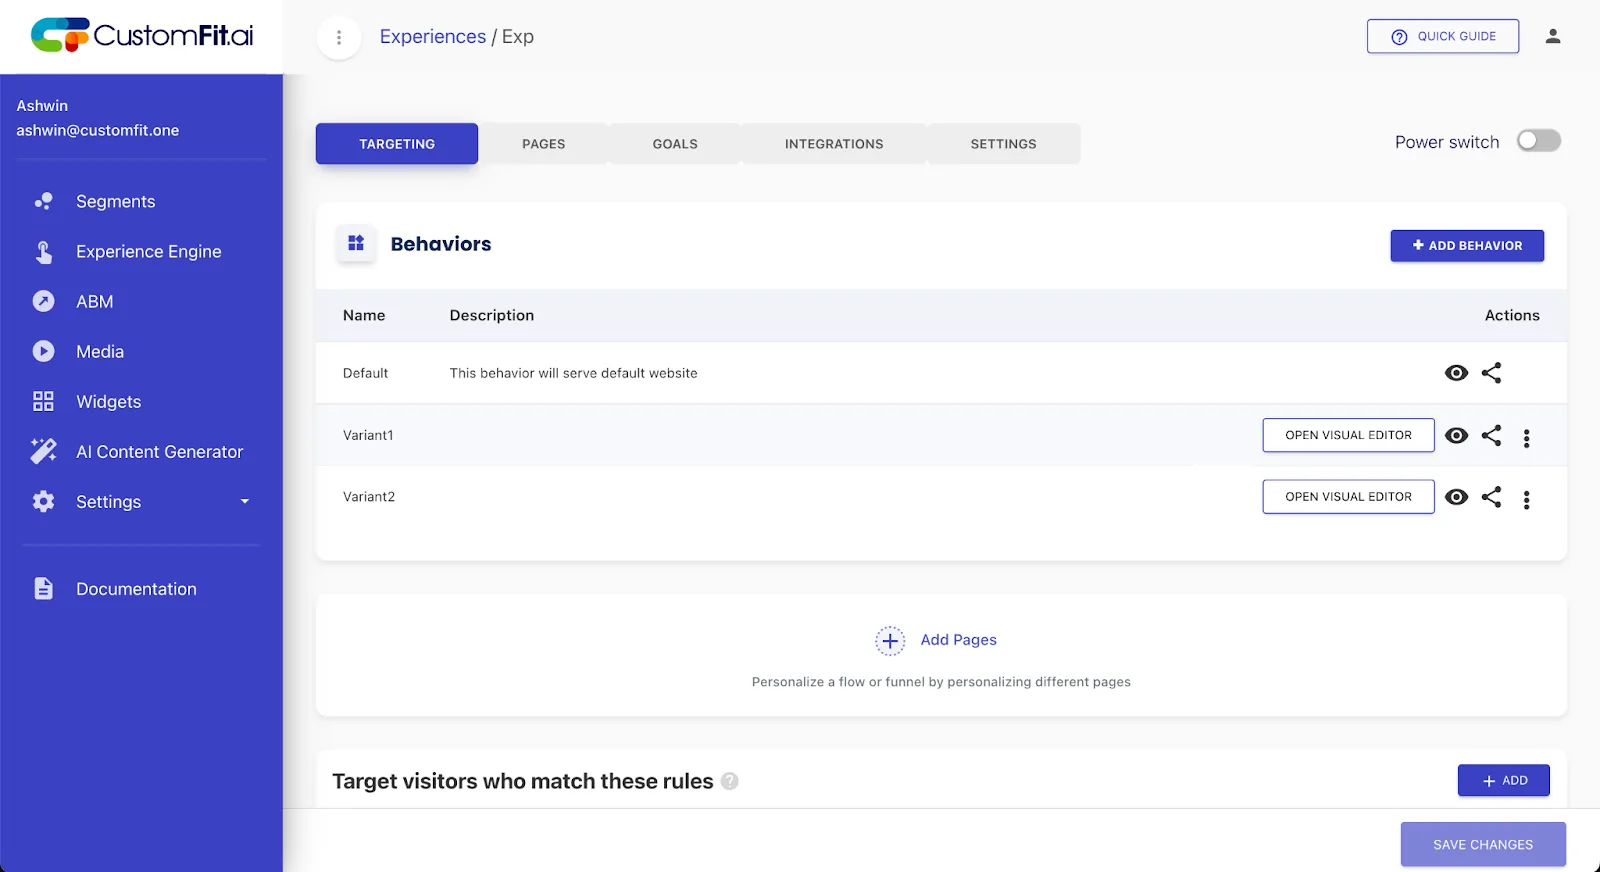
Choose whether you want to show the variant to all visitors or just specific segments (like mobile users or returning visitors).
Once published, your original version still shows to half your visitors while the new one shows to the other half. Everything happens behind the scenes, so your site stays stable and clean.
CustomFit automatically tracks the metrics you care about, like clicks, add-to-carts, or purchases, and tells you which version is performing better.
And if one version outperforms the other, you can set it as your new default with a single click.
Want a hand getting started? Book a live demo and we'll show you how to set up your first A/B test, customized to your store.
Getting started with CustomFit Editor: your personal website playground
Once you've set up A/B testing inside CustomFit, the next part happens inside the CustomFit Editor. Whether you're tweaking a headline, testing a new product layout, or setting up a personalized journey for visitors, the editor gives you what you need, and you don't have to be a designer or a developer to use it.
Prefer to see it live? Schedule a quick walkthrough and we'll show you how to use the editor on your store.
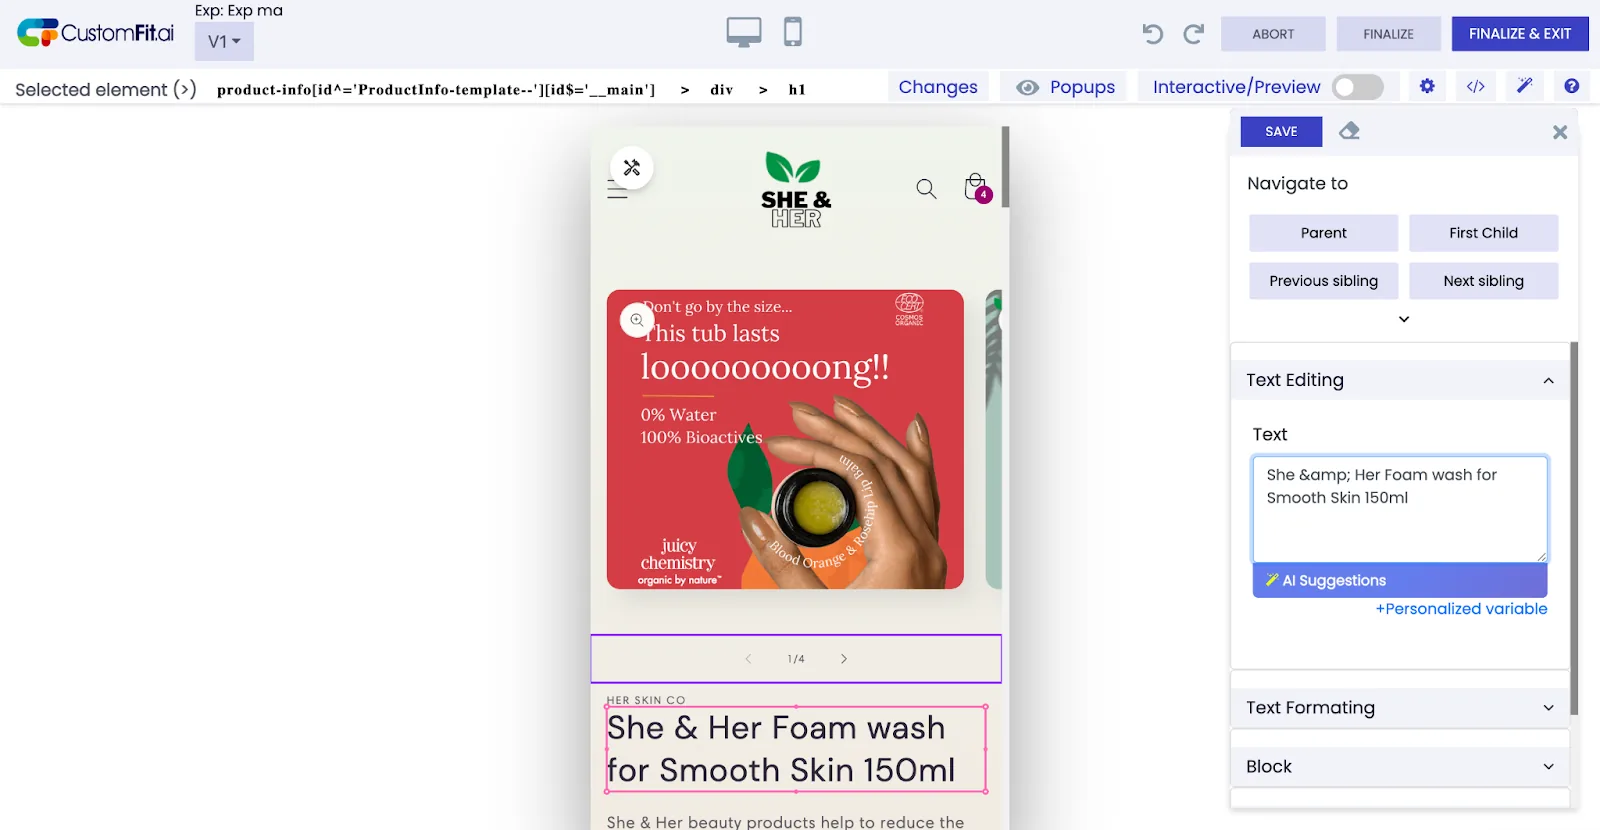
Here's a quick guide to what you can do inside the editor.
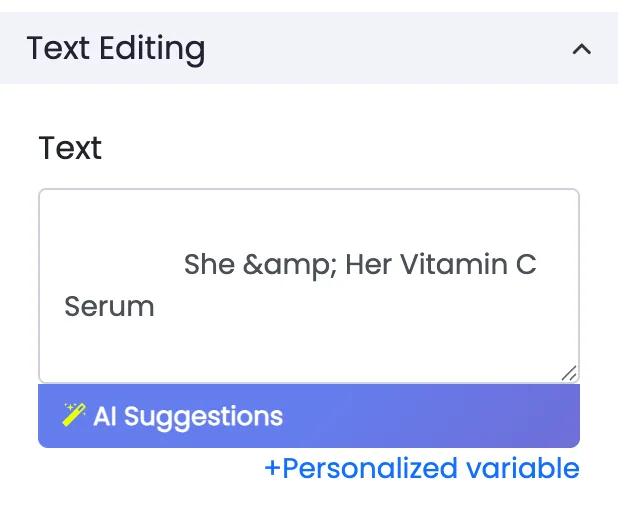
1. Edit Text. Update any text on your webpage by clicking and typing. Headlines, descriptions, or button labels all change in real time, with no code or technical skills required.
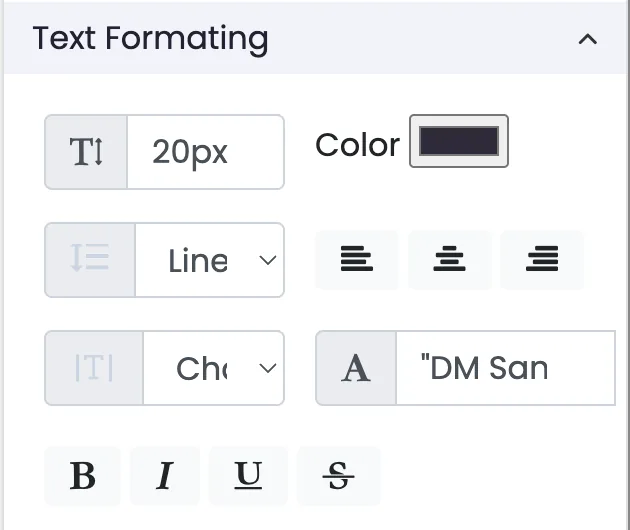
2. Text Formatting. Customize your text with bold, italics, underline, font size, and colours, so it stays aligned with your brand's style without needing a designer.
3. Image Customization. Swap any existing image for a new one from your computer or a URL. Useful for testing different visuals to see which image performs better during A/B tests or product launches.
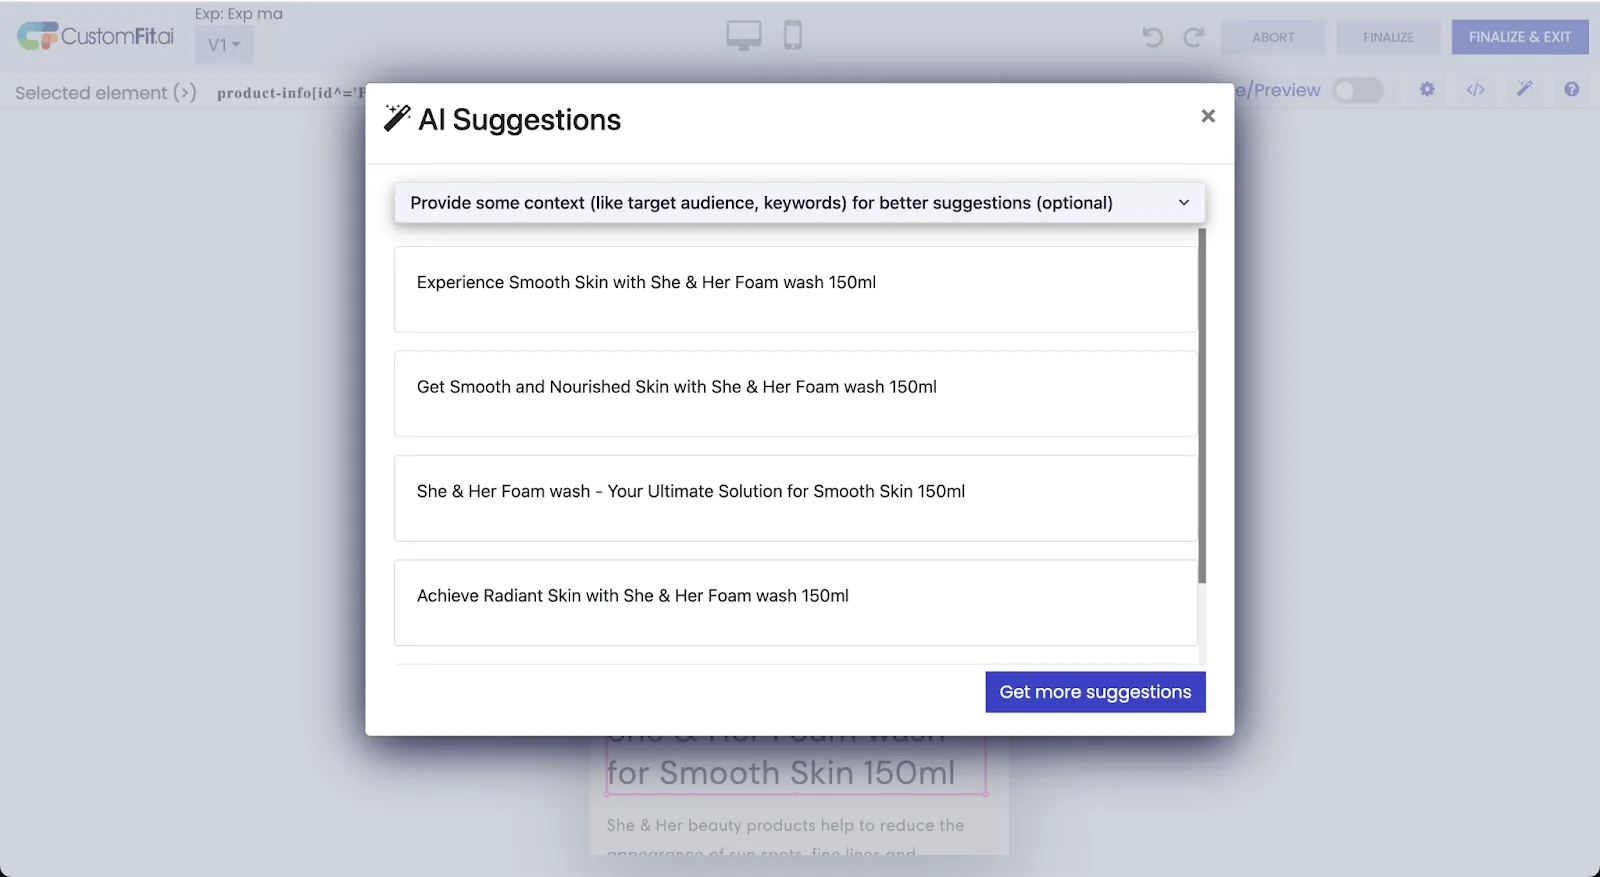
4. AI Text Suggestions. Don't know what to write? Our AI gives you suggestions based on your current content and tone, so you can draft messages faster.
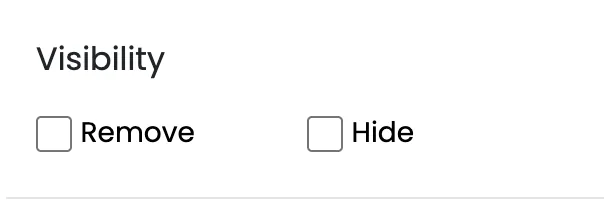
5. Visibility Toggle. Show or hide any element on your website instantly. Useful for testing minimal designs, removing clutter, or showing content only to certain users without deleting anything.
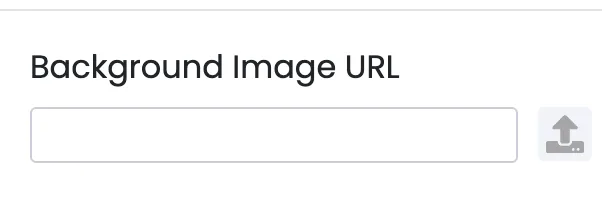
6. Background Image URL. Change the background of any section by inserting a new image URL or uploading your own. Good for thematic testing or refreshing your homepage with seasonal visuals.
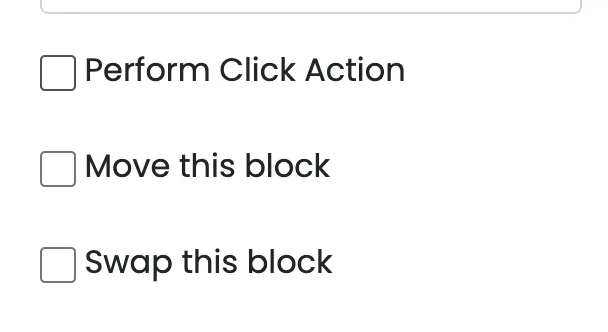
7. Perform Click Action. Assign actions to buttons or links, such as scrolling to a section, opening a form, or triggering animations, without touching any code. This smooths the user journey.
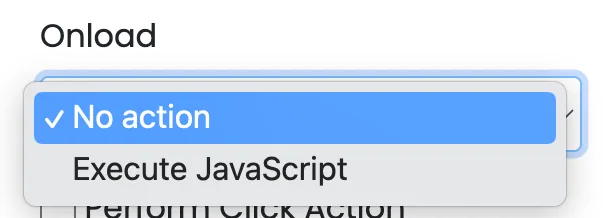
8. Onload JavaScript Action. Want something to happen when the page loads? You can trigger custom JavaScript actions like showing a pop-up or tracking behaviour automatically, which helps with user experience or analytics.
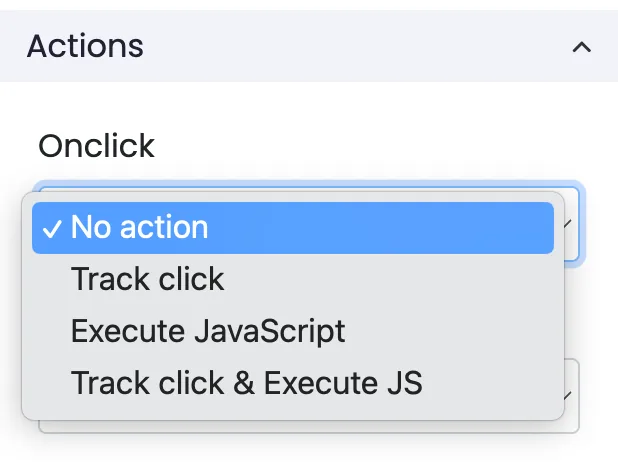
9. Onclick Actions. Define what happens when a user clicks a specific button or link: open another page, reveal hidden content, or run custom scripts. This lets you guide visitors through your site on purpose.
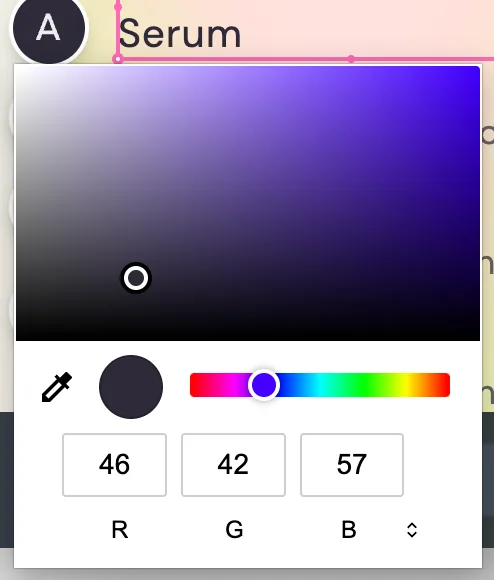
10. Background Color Picker. Change the background colour of any section using a full-color palette or precise RGB values. Useful for A/B testing visual appeal or keeping brand consistency.

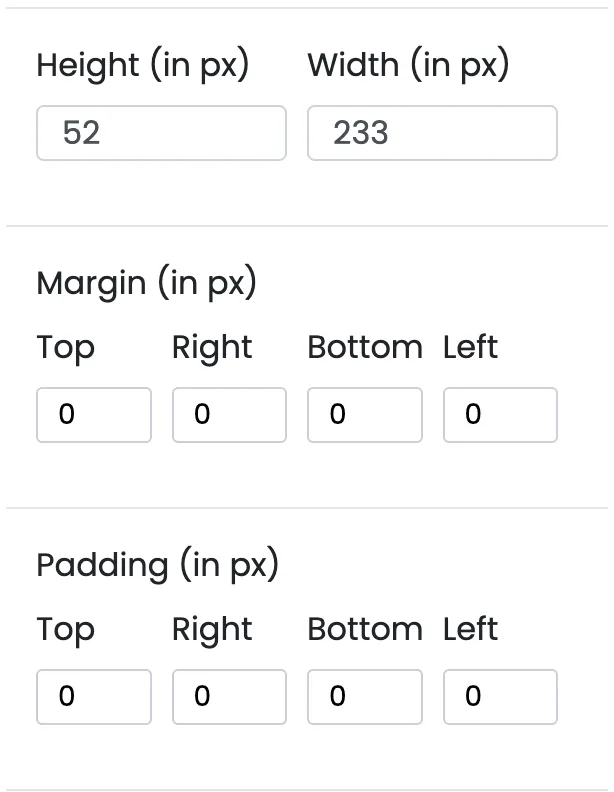
11. Dimension Settings. Control the width, height, margins, and padding of sections and elements. Whether you want compact cards or full-width banners, you get layout flexibility without touching CSS.
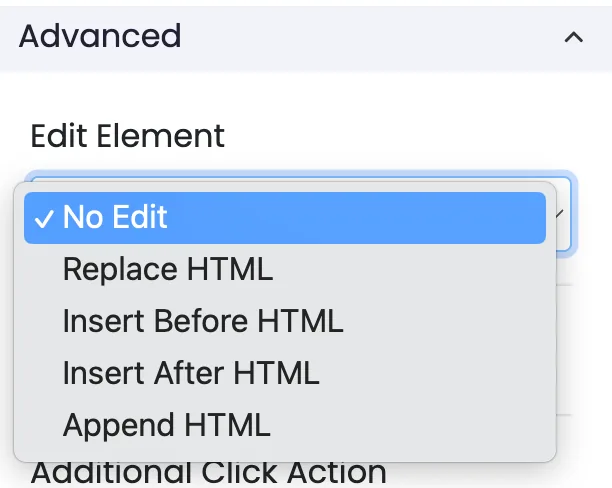
12. Advanced Element Editing. Go beyond the basics with HTML-level editing. Insert, append, or replace content inside any element for granular control over how your page looks and behaves.
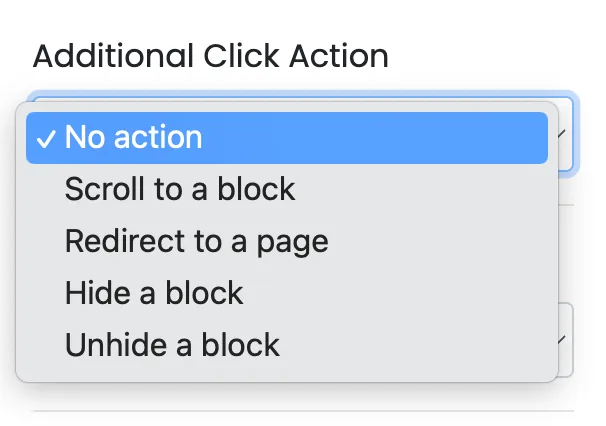
13. Additional Click Actions. Trigger extra actions like scrolling, redirecting, or showing and hiding content blocks when users interact. This helps you build smoother browsing experiences with just a few clicks.
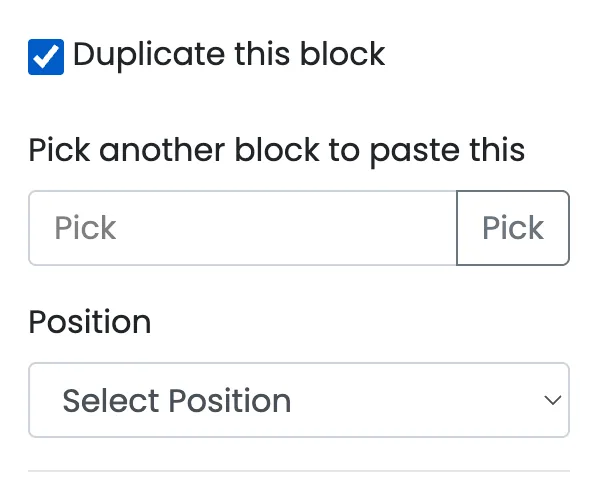
14. Duplicate Block. Duplicate any content section instantly and place it elsewhere on the page. Handy for running A/B tests on similar layouts or saving time during content updates.
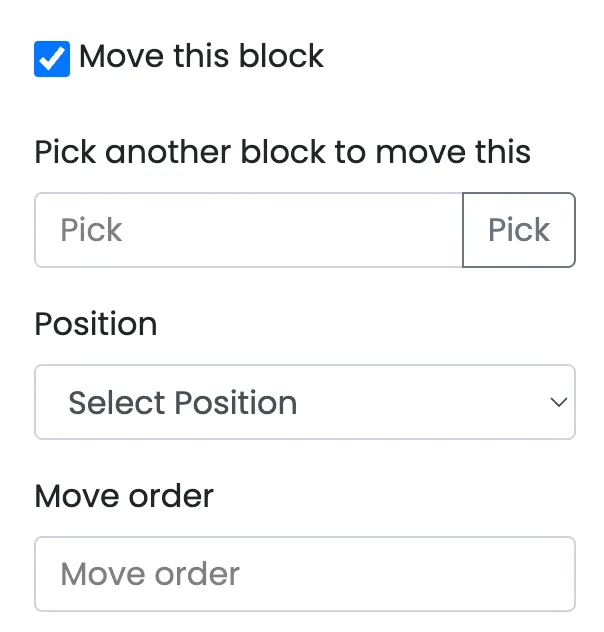
15. Move Block. Drag and drop any block of content to a different place on your page. Restructure your layout without rebuilding anything from scratch.
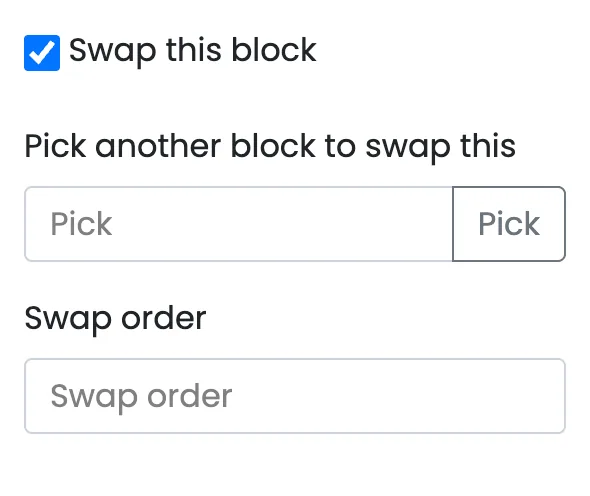
16. Swap Block. Exchange the position of two blocks instantly. A quick way to compare which section order works better for conversion or readability.
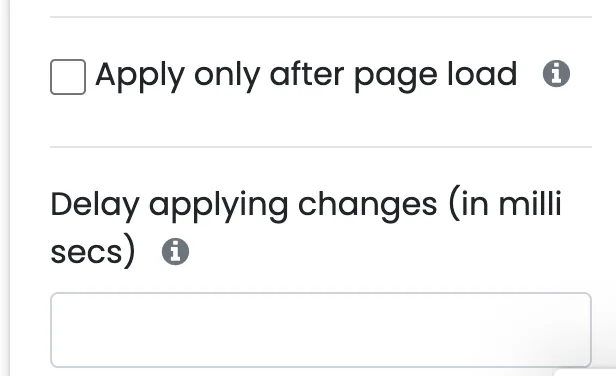
17. Page Load Settings. Set up delays or animations that trigger when the page loads. For example, make a banner fade in or a CTA button bounce. These micro-interactions boost engagement.
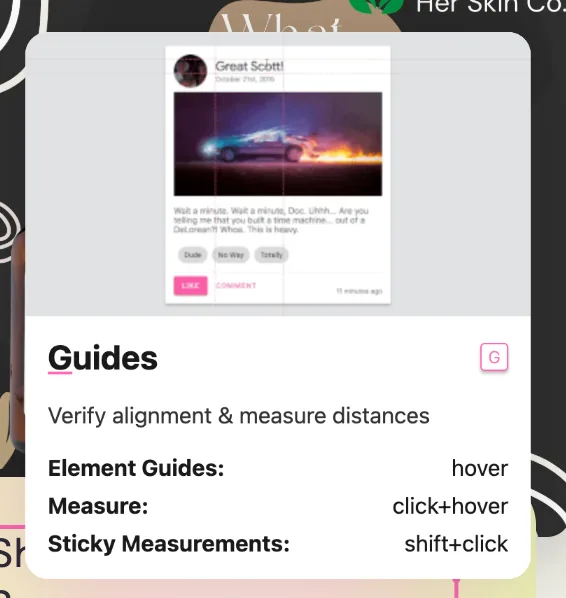
18. Alignment Guides. Align elements using visual guidelines. For text, images, or buttons, keeping symmetry improves design quality and makes your site look more professional.
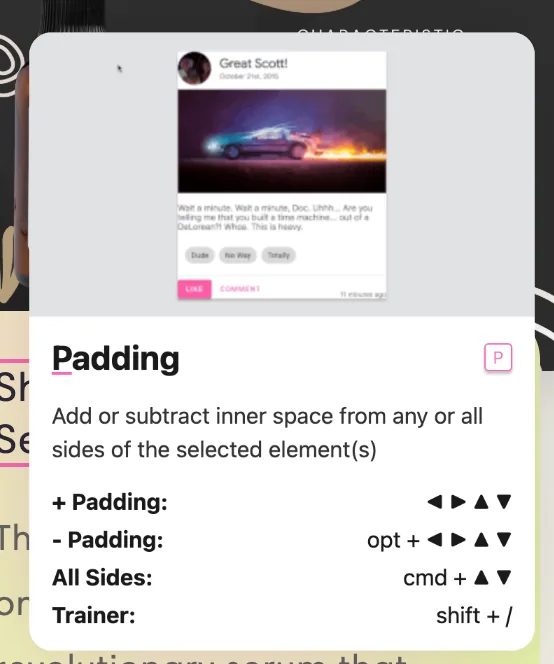
19. Padding Adjustment. Add or remove space around elements using sliders. Fine-tune how close or far things sit from each other to improve spacing and reduce visual clutter.
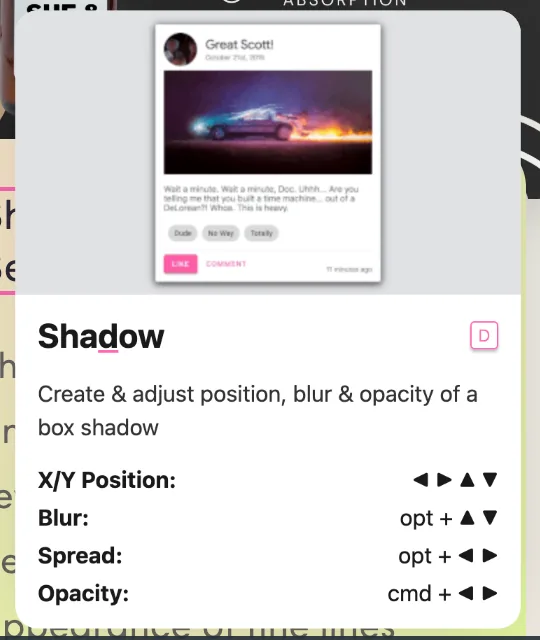
20. Shadow Controls. Add depth with shadows by adjusting blur, position, and opacity. An easy way to highlight buttons, product images, or text without being flashy.
21. Color Picker. Change text, button, or background colours precisely. Enter HEX or RGB codes or choose from the palette. Helps you keep brand style or test the impact of colour contrast.
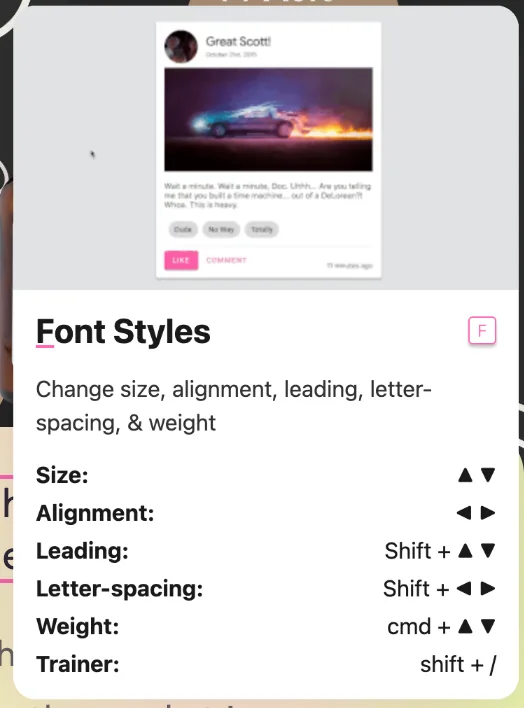
22. Font Style Editor. Adjust font size, letter spacing, line height, and alignment. Whether you want tight, bold headers or relaxed, readable body text, you can tweak it all visually.
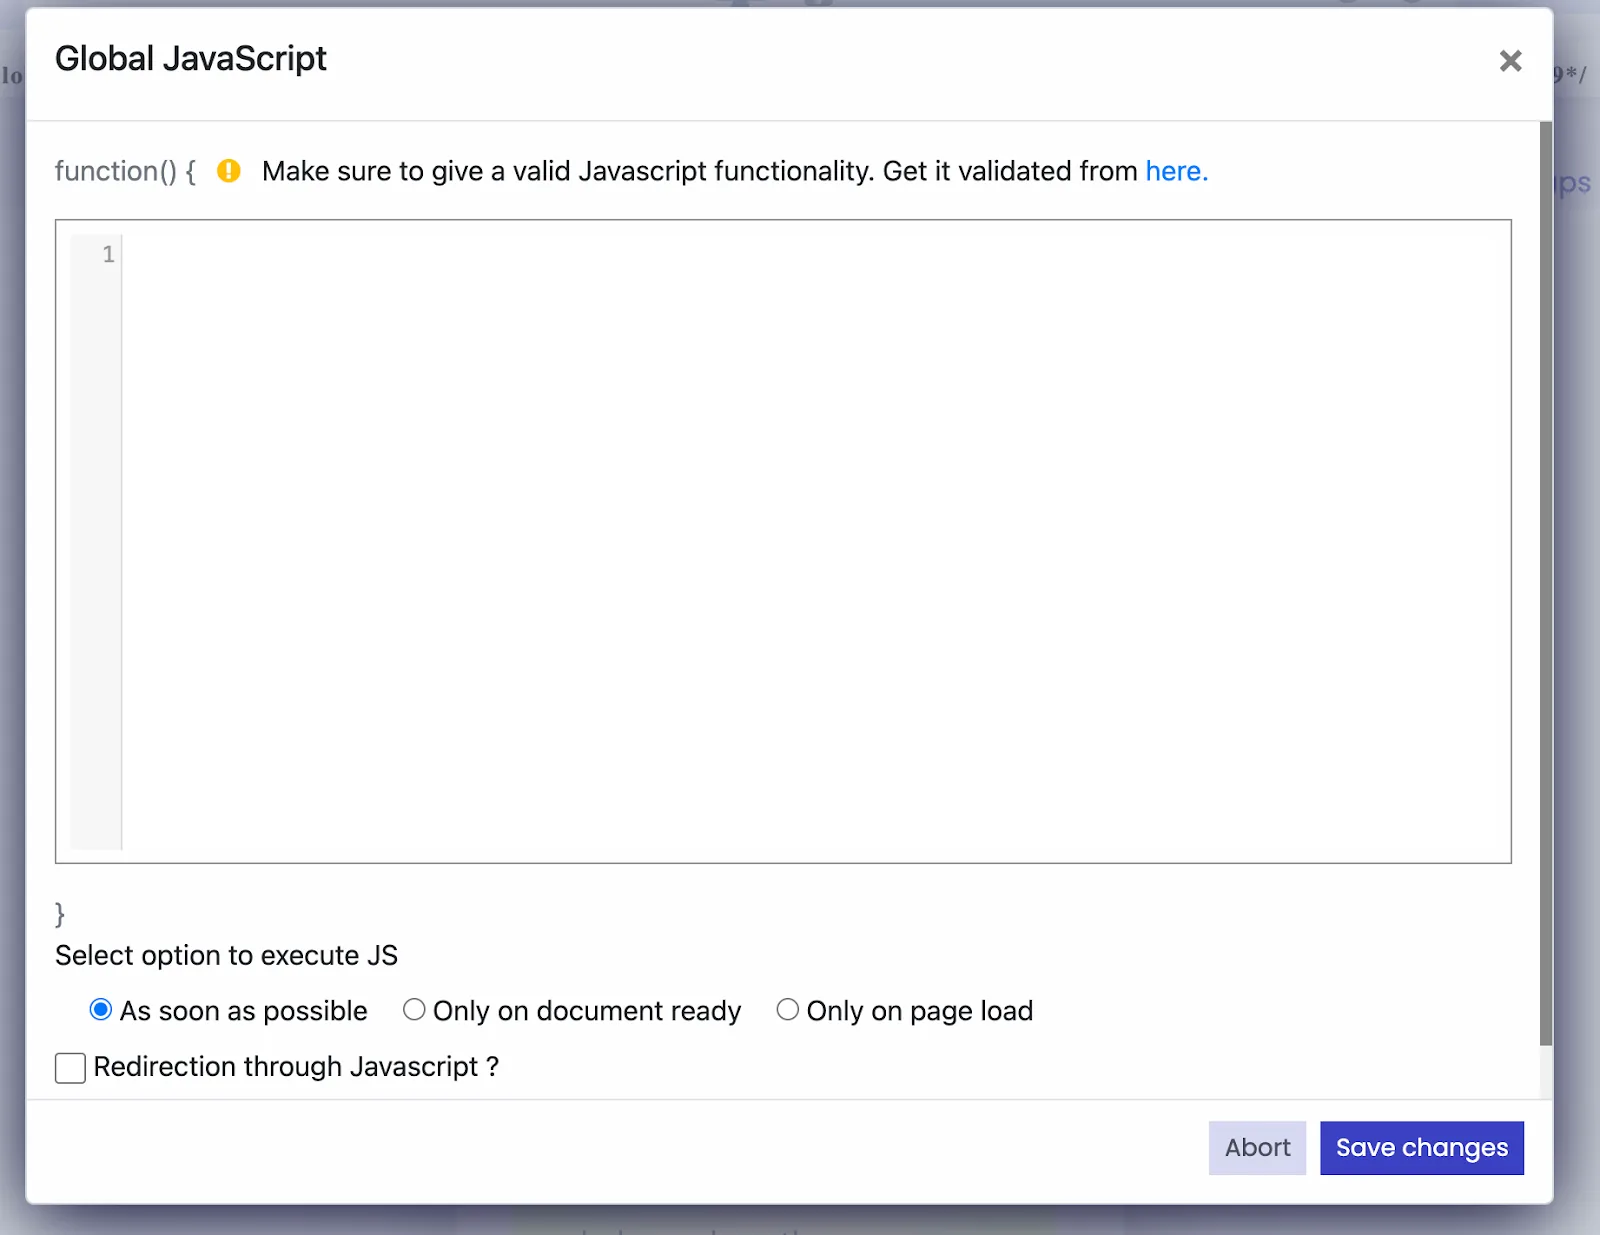
23. Run JS. Run JavaScript at any point of the page lifecycle. Useful for advanced testing, integrations, or triggering dynamic content changes automatically.
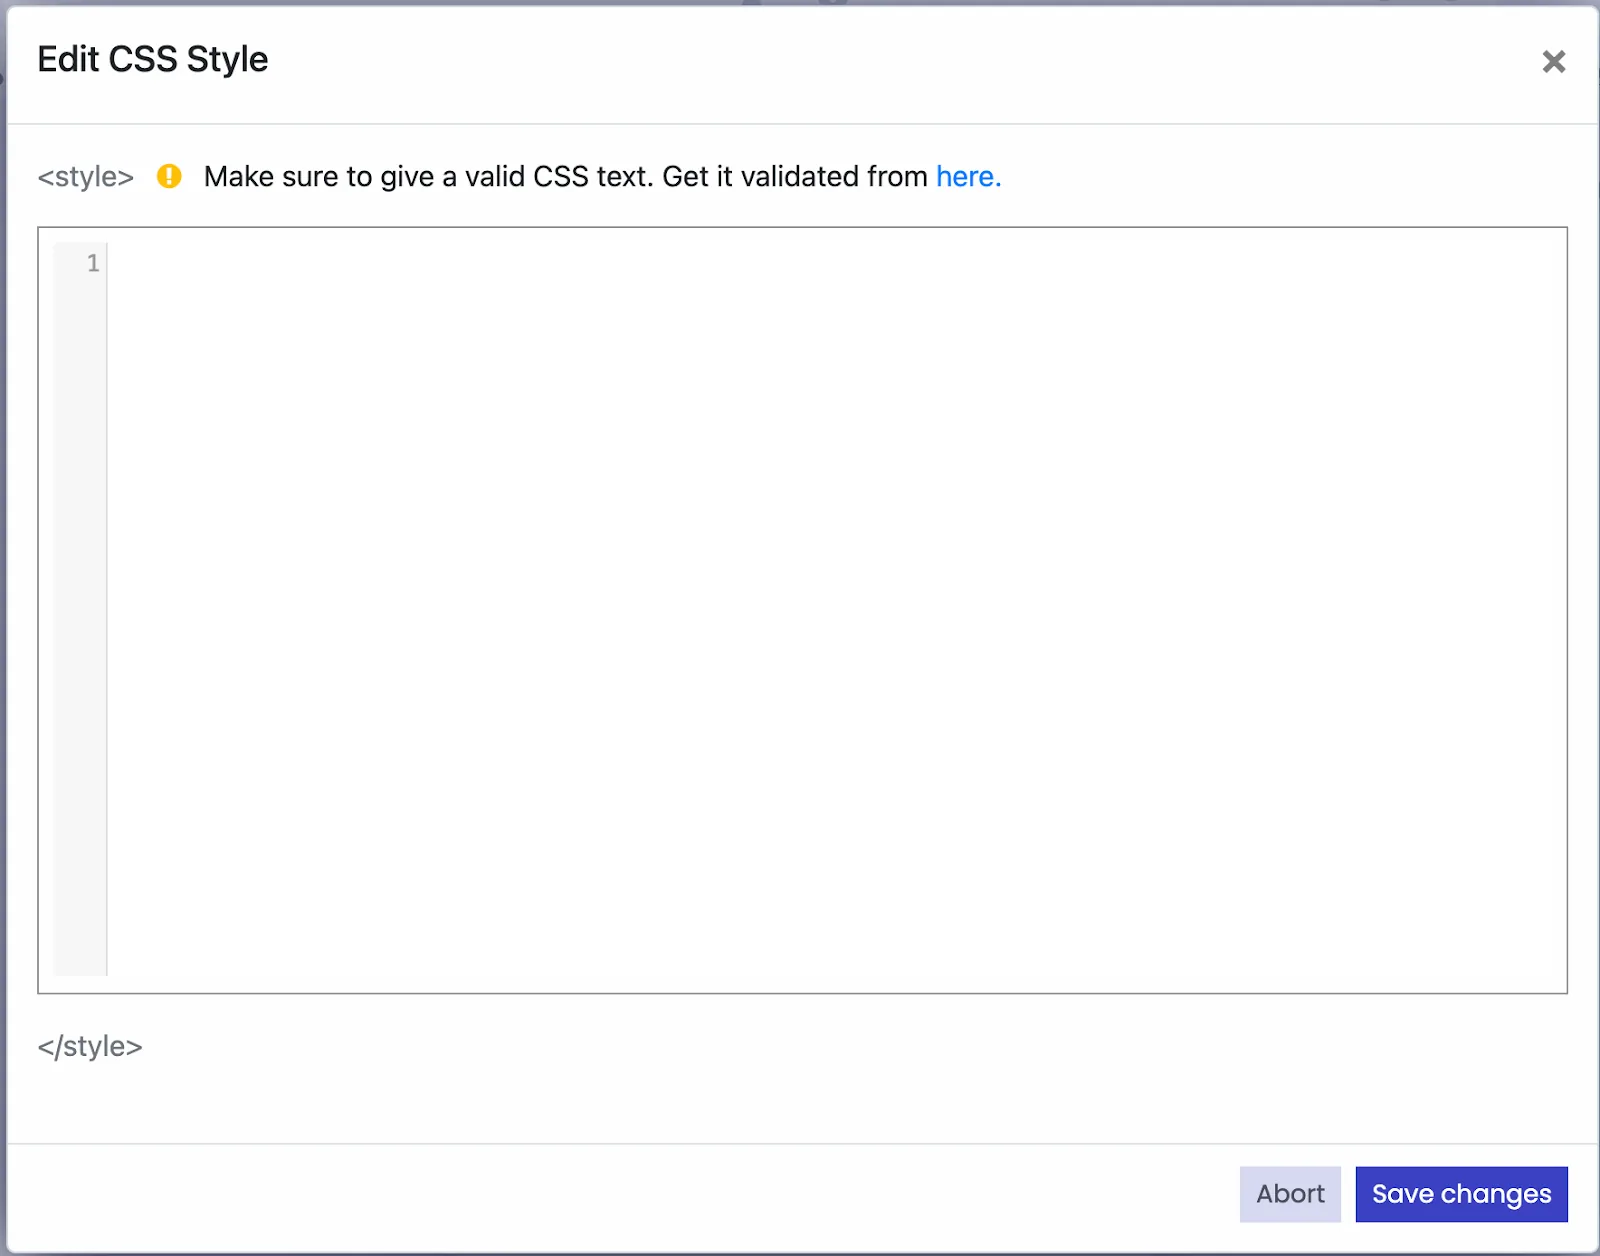
24. Change CSS. Apply custom styles by editing or adding CSS classes to any element. Good for more technical users who want deeper visual customization without altering the original code.
25. Split URL. Create experiences where different user segments see different page URLs. Useful for A/B testing entirely different landing pages or localizing pages without redirecting users manually.
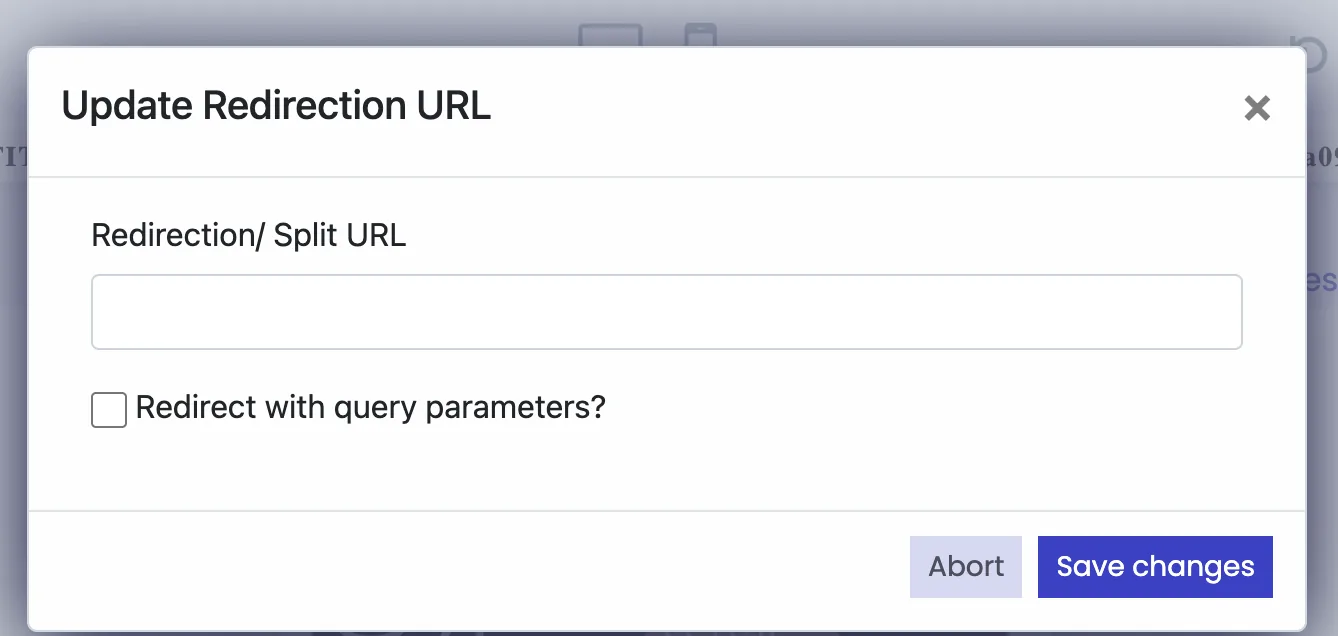
All of these features help you test ideas fast, personalize experiences, and check performance. Whether you're adjusting a CTA for returning users or running a time-limited campaign banner, the CustomFit Editor gives you control without the overwhelm.
Power your experiments with CustomFit Widgets
Once you're comfortable editing text, styling blocks, and rearranging content with the CustomFit Editor, the next step is using Widgets. These are pre-built, plug-and-play sections you can drop into your pages without touching code. Whether you're promoting a limited-time offer, adding product reviews, or pointing shoppers to product bundles, widgets make it quick.
Here are some of the most useful widgets to get started with.
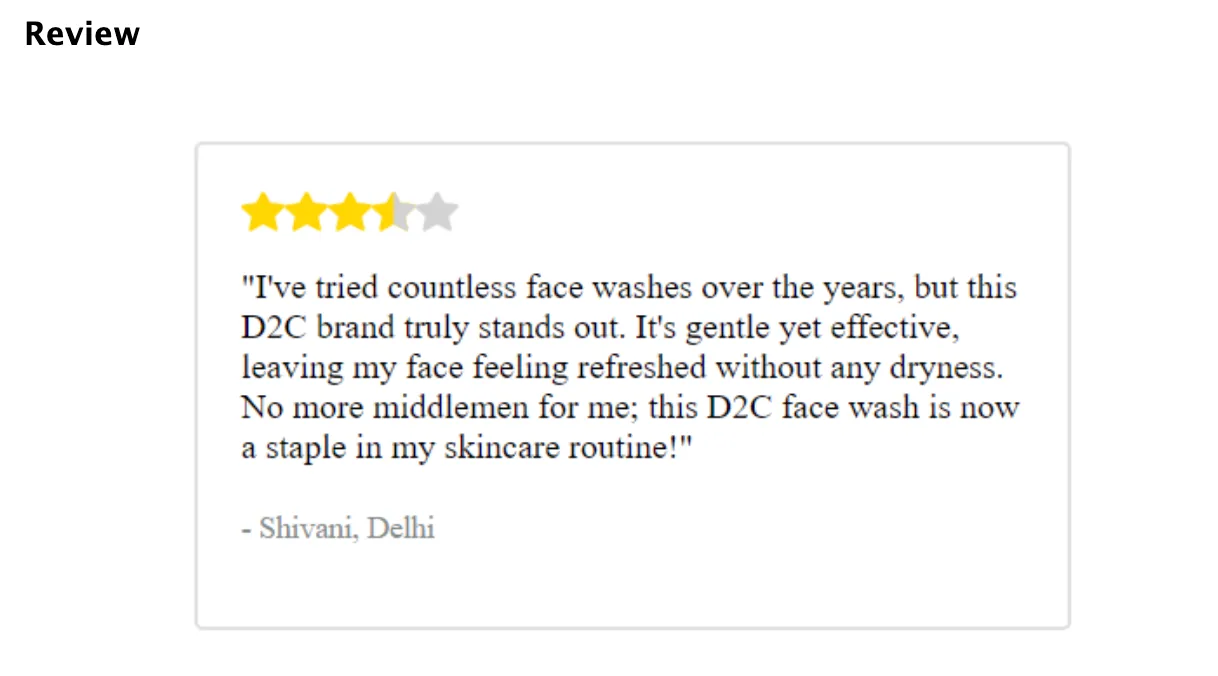
1. Review. Display real customer reviews with text and ratings to build trust and influence buyer decisions right on your product pages.
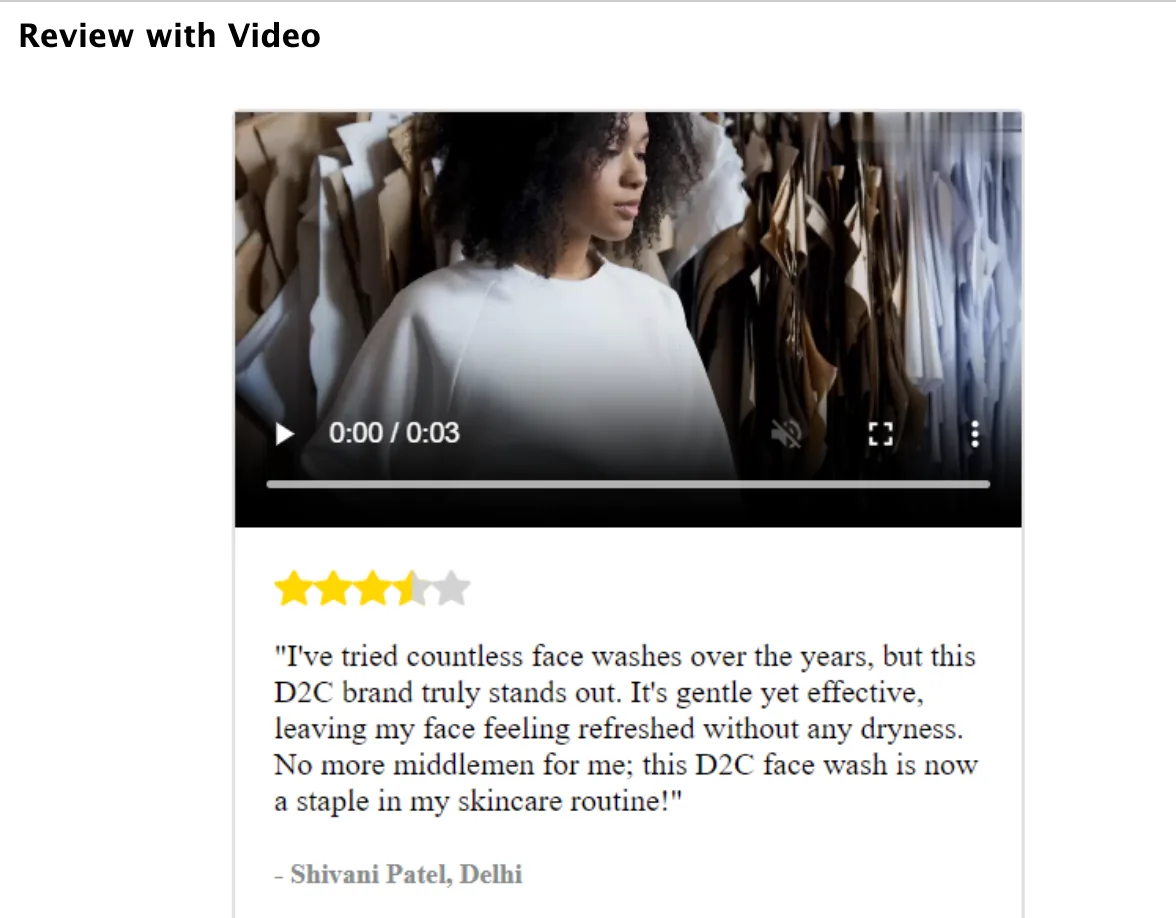
2. Review with Video. Embed customer testimonial videos to add authenticity and bring more credibility to your product experience.
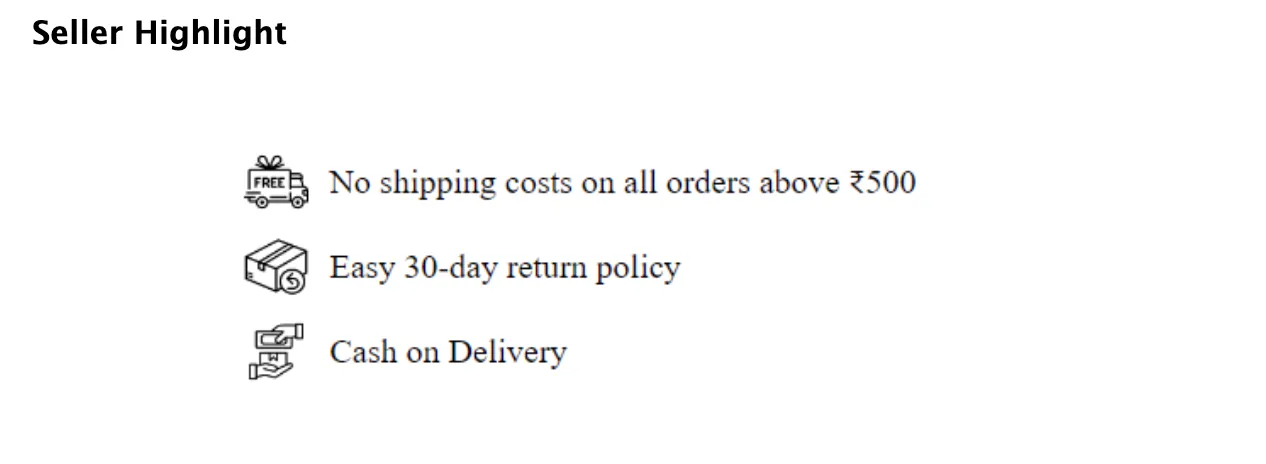
3. Seller Highlight. Show shipping options, return policies, or COD availability with this widget to answer key buyer concerns upfront and reduce hesitation.
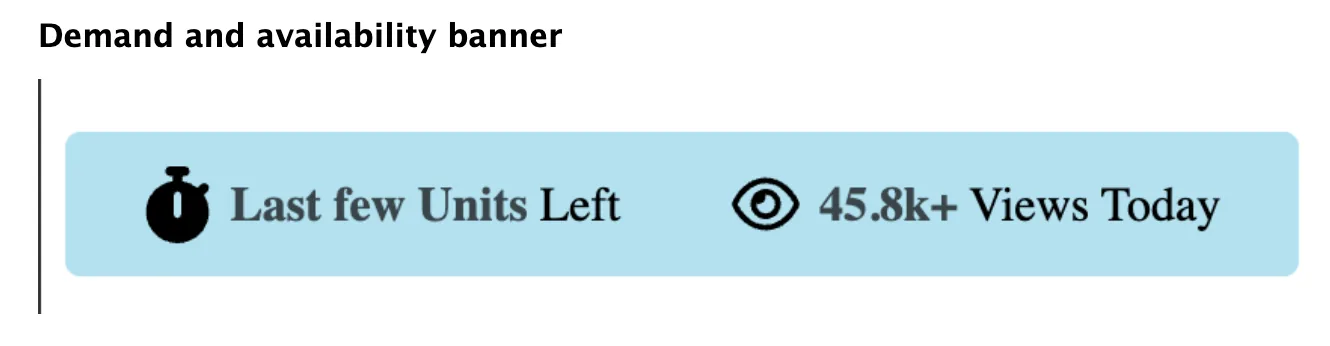
4. Demand and Availability Banner. Add urgency by showing low-stock alerts or fast-selling product messages. Good for creating FOMO and driving quicker action.
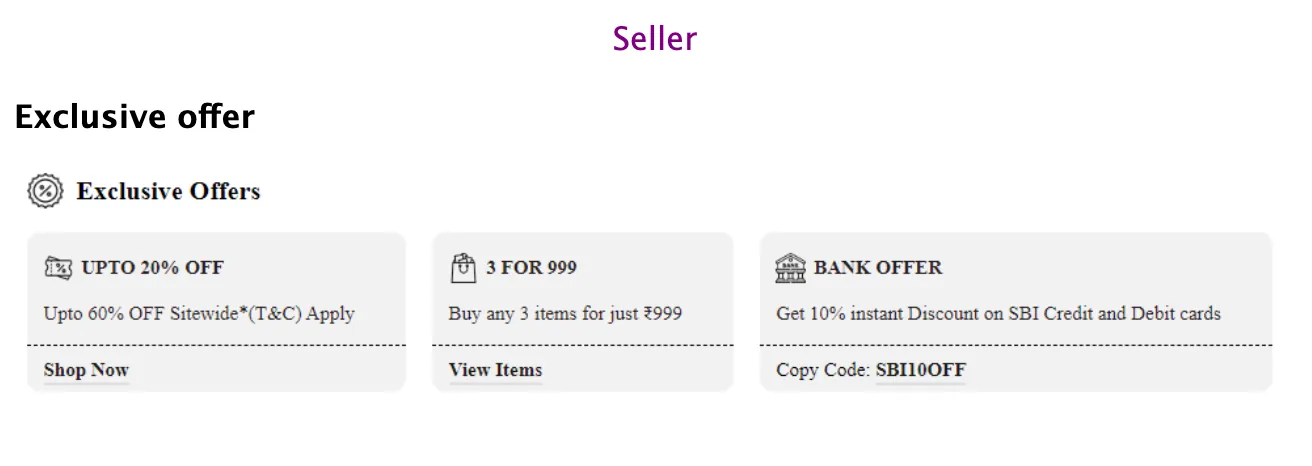
5. Exclusive Offer. Highlight time-sensitive or limited-edition discounts and deals to encourage quick conversions without users needing to scroll or hunt.
6. Text with Click. Use clickable text to capture leads, redirect users, or trigger personalized offers, all from one small widget.
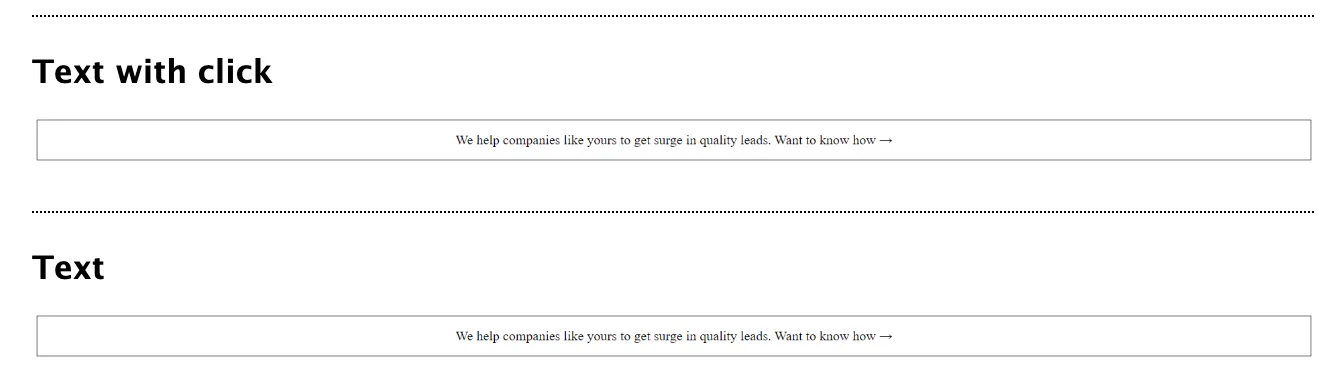
7. Text. A static text block for adding explanations, guarantees, or supporting content in clean, readable formats.
8. Image with Click. Use an image as a clickable CTA. Works well for linking to landing pages, category pages, or triggering modals.
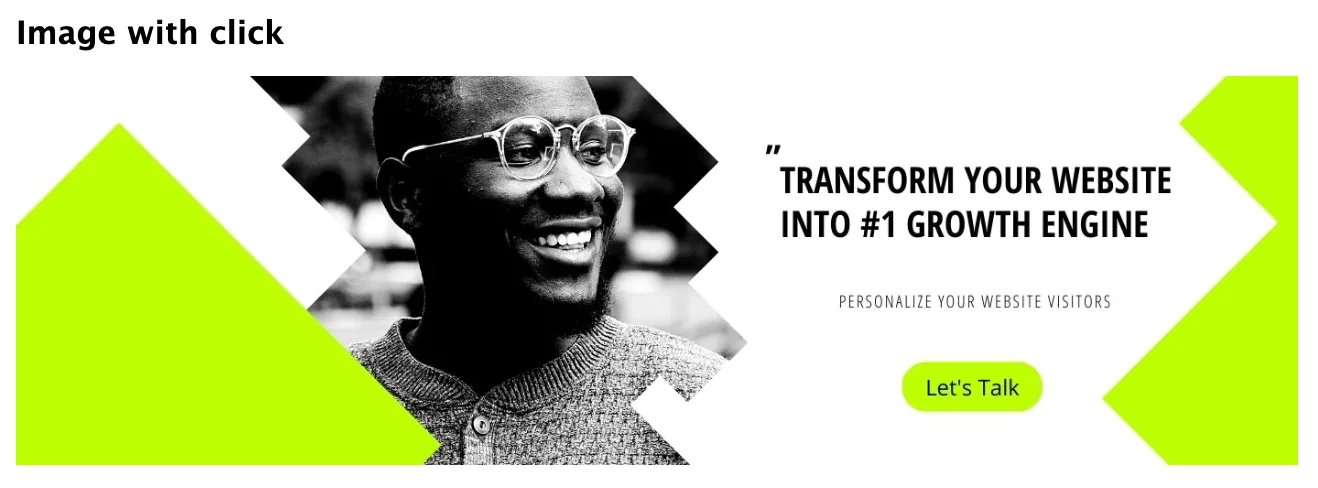
9. Image. Place promotional images anywhere on your site. Use it for banners, product highlights, or brand storytelling.
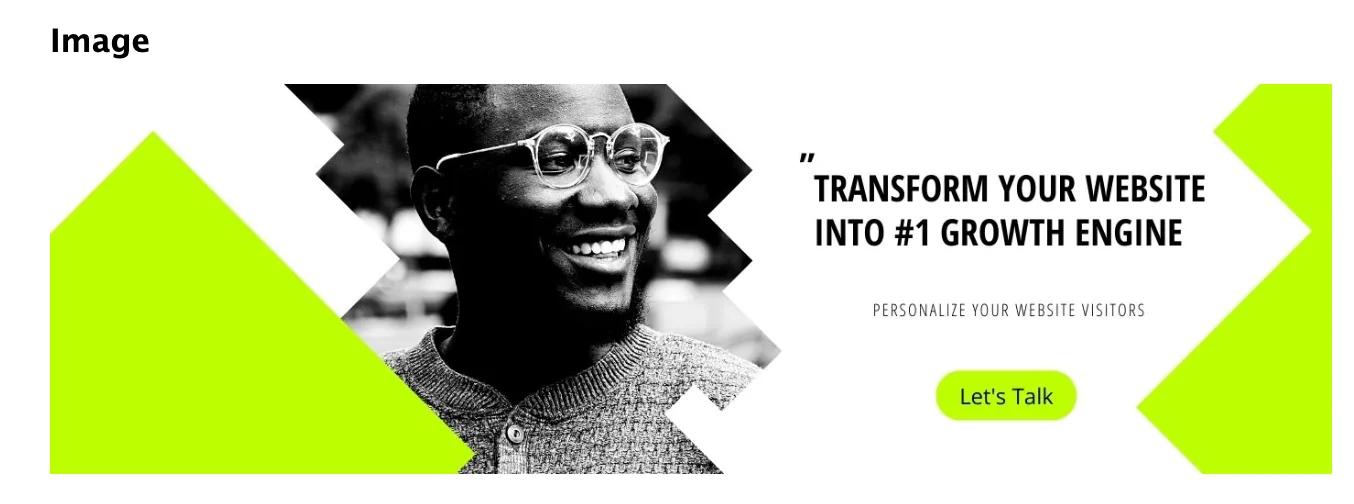
10. Button. Add a standalone CTA button for actions like sign-up, buy now, or redirect. Customize color, shape, and size.

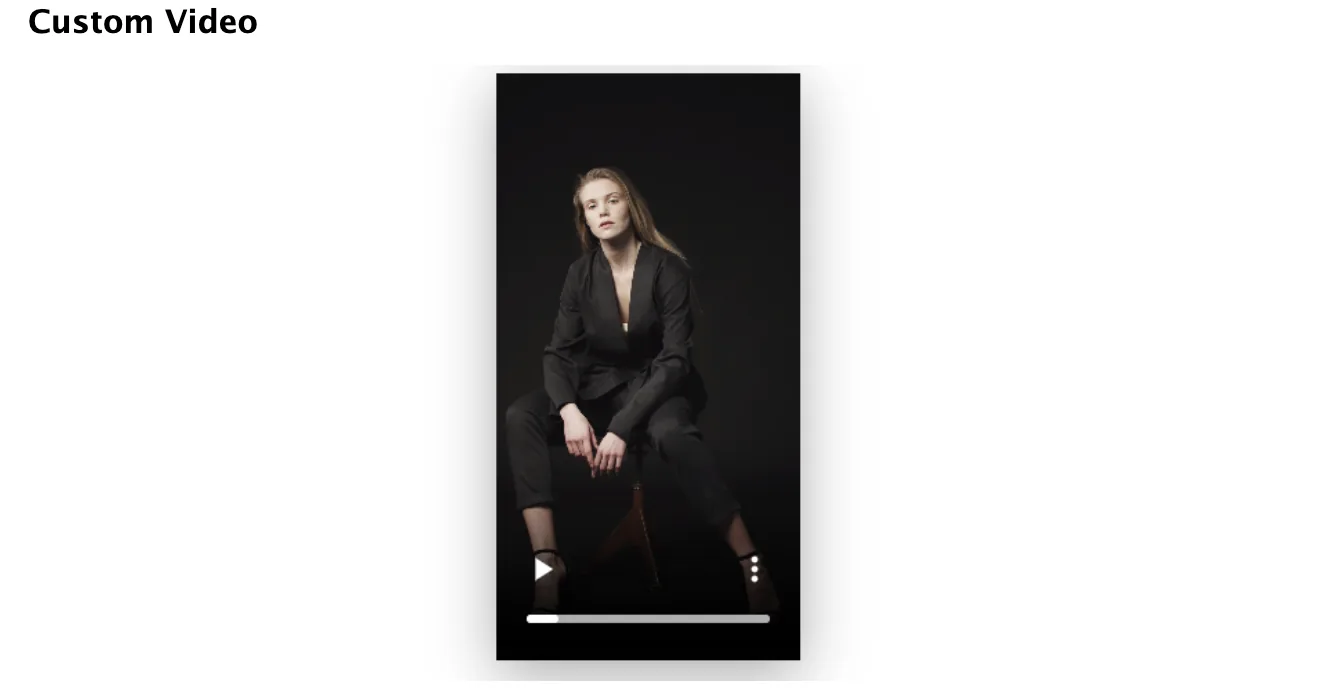
11. Video. Embed product or brand videos to educate, engage, or build trust. Test different videos and see which improves conversions.
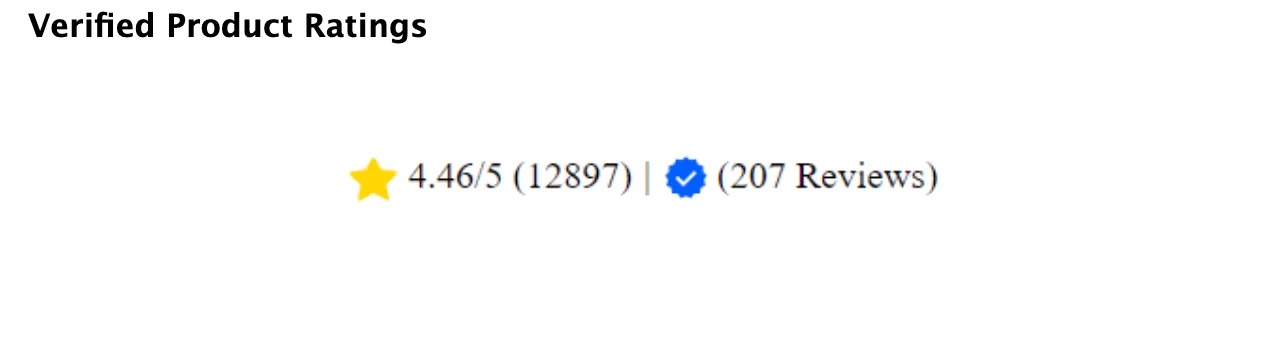
12. Verified Product Ratings. Display average star ratings with a verified badge to reinforce product credibility and reduce buyer hesitation.
13. Ratings. Add a dynamic star-based rating display that you can place across pages for social proof.

14. Product Collapsible Description. Let users expand or collapse detailed product information. Keeps your layout clean while still offering depth when needed.

15. Text Badges. Show product features or highlights using text-based badges like "New", "Eco-friendly", or "Bestseller" to guide decisions quickly.

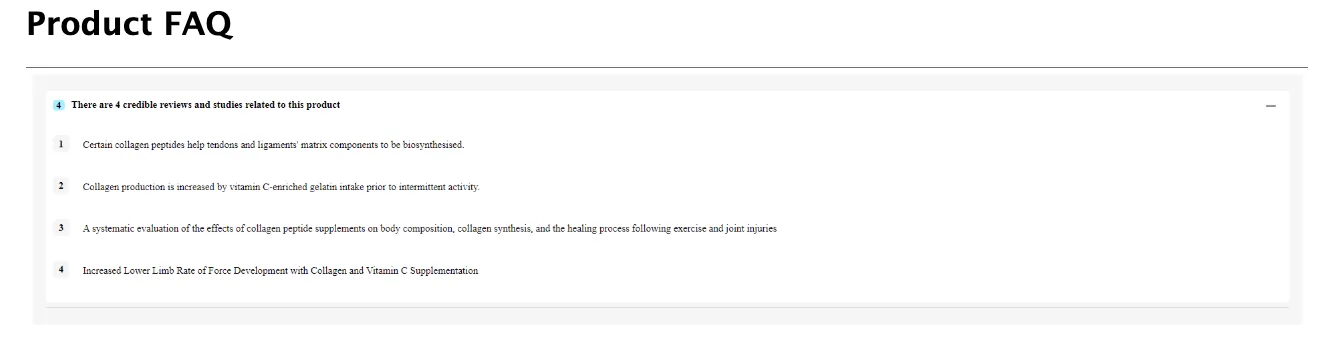
16. FAQs. Add expandable FAQ sections to handle common objections and reduce customer support queries, especially near product pages or the cart.
17. Info Section. Create content sections with links and anchors that guide users to other relevant parts of your site.
18. Banners. Show promotional banners with custom text and CTAs. Good for sales, free shipping messages, or limited-time updates.
19. Bottom Banner. Place a sticky banner at the bottom of the screen for persistent messages like discounts or app prompts.
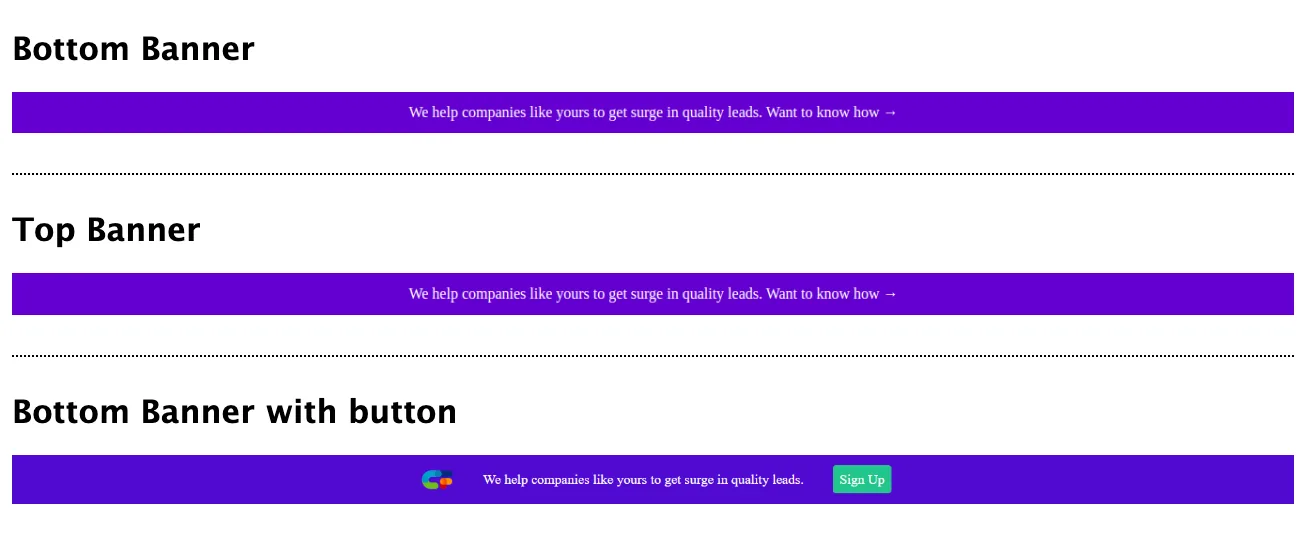
20. Top Banner. Pin important updates, sales, or announcements at the top of your page without disrupting the user experience.
21. Bottom Banner with Button. Combine the sticky bottom banner with a CTA button. Good for exit intent offers or persistent reminders.
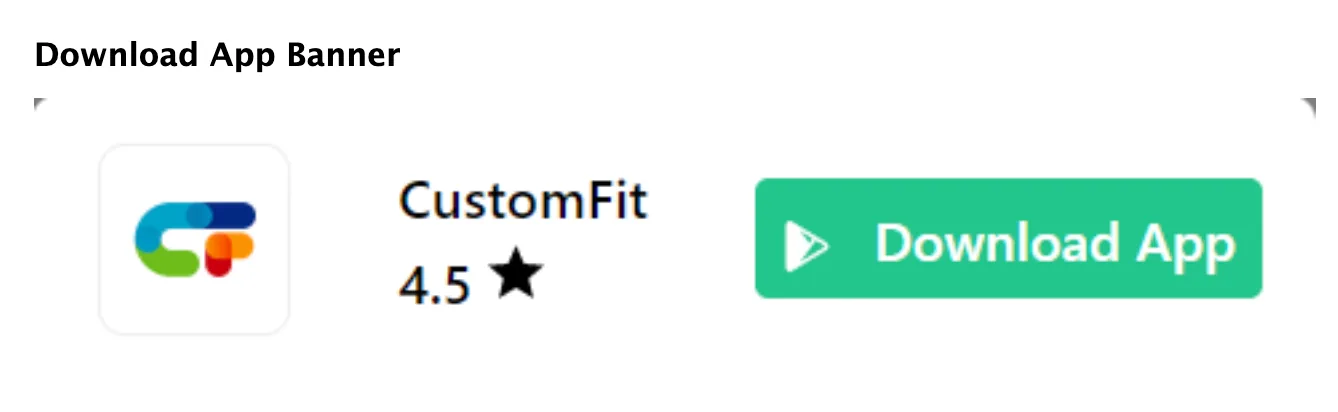
22. Download App Banner. Prompt mobile users to download your app with a non-intrusive banner that blends into the user journey.
23. Review with Image. Display customer reviews alongside user-submitted photos to add authenticity and social proof to your product pages.
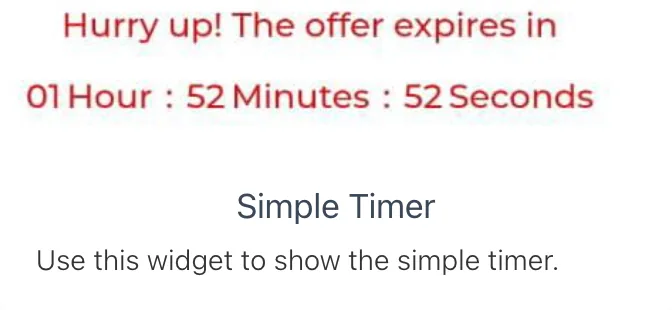
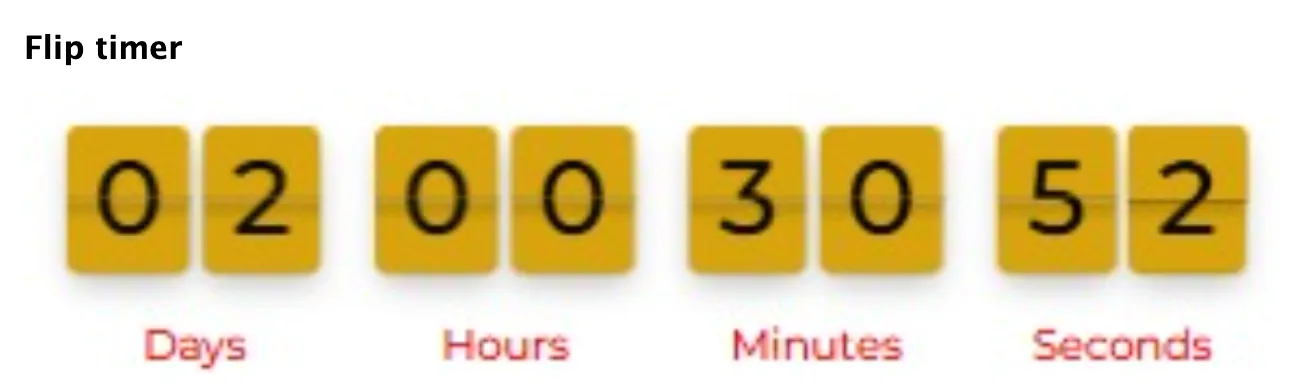
24. Simple Timer. Add a countdown timer to highlight urgency and drive immediate purchases during limited-time campaigns or flash sales.
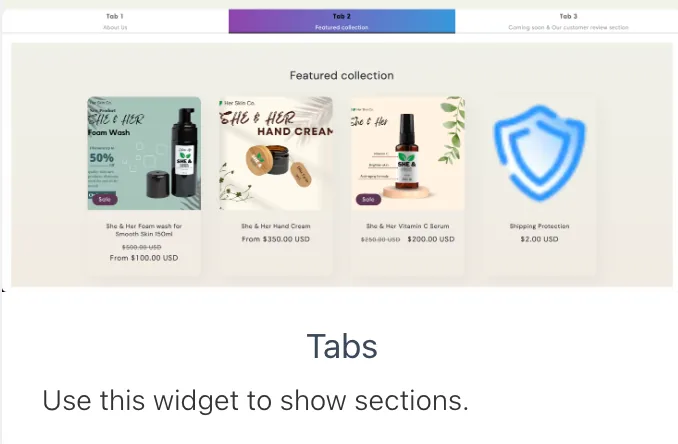
25. Tabs. Organize related content like ingredients, benefits, or shipping info into tabs to keep product pages clean and easy to read.
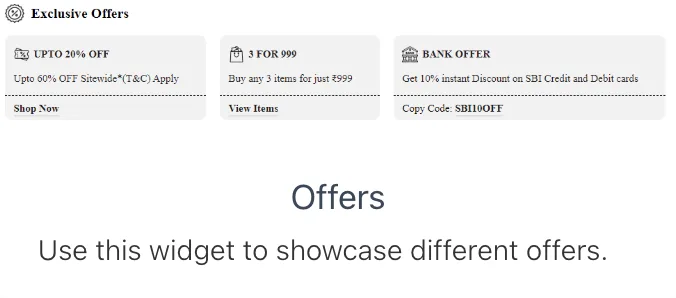
26. Offers. Display multiple offer cards at once so users can browse active deals or bundles without crowding your page.
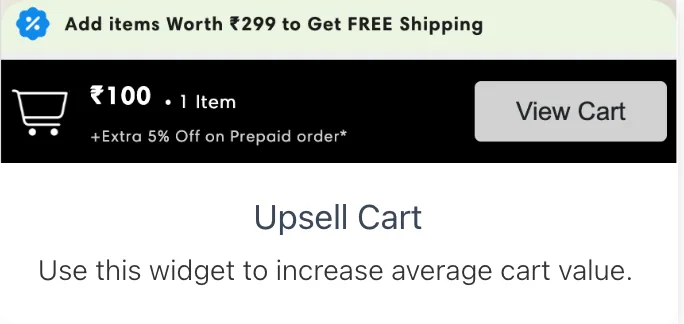
27. Upsell Cart. Add suggested upsell products directly to the cart page to increase average order value with relevant add-ons.
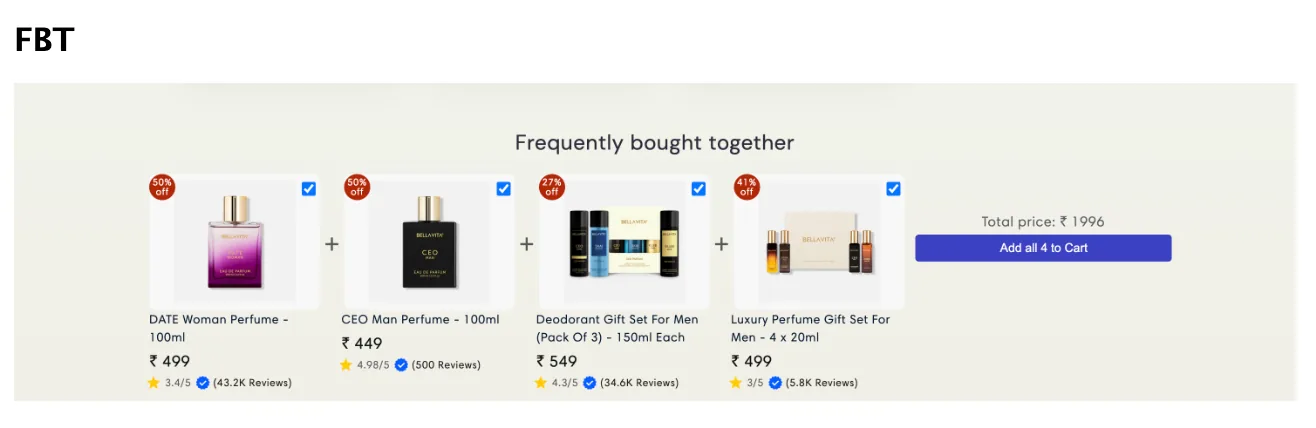
28. Frequently Bought Together. Encourage bundling by showing products that are commonly purchased together, based on user behavior or logic.
29. Image Banner Carousel. Display a rotating carousel of image banners to promote campaigns, collections, or product categories in one space.
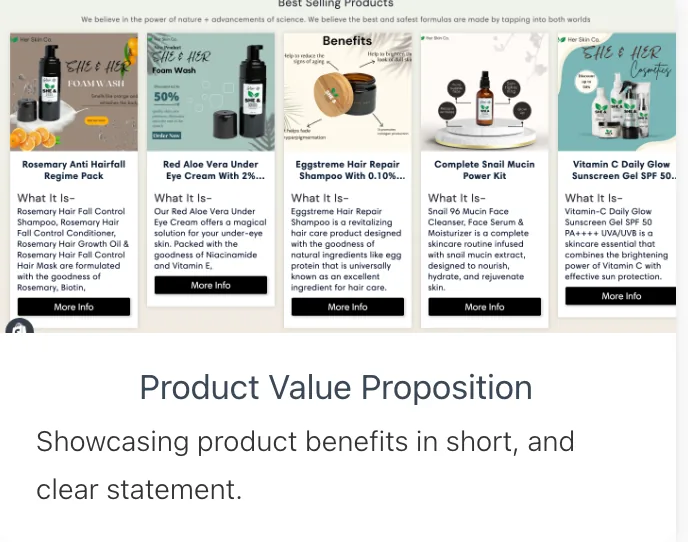
30. Product Value Proposition. Highlight key features or benefits of your product in a compact visual block. Good for reinforcing value above the fold.
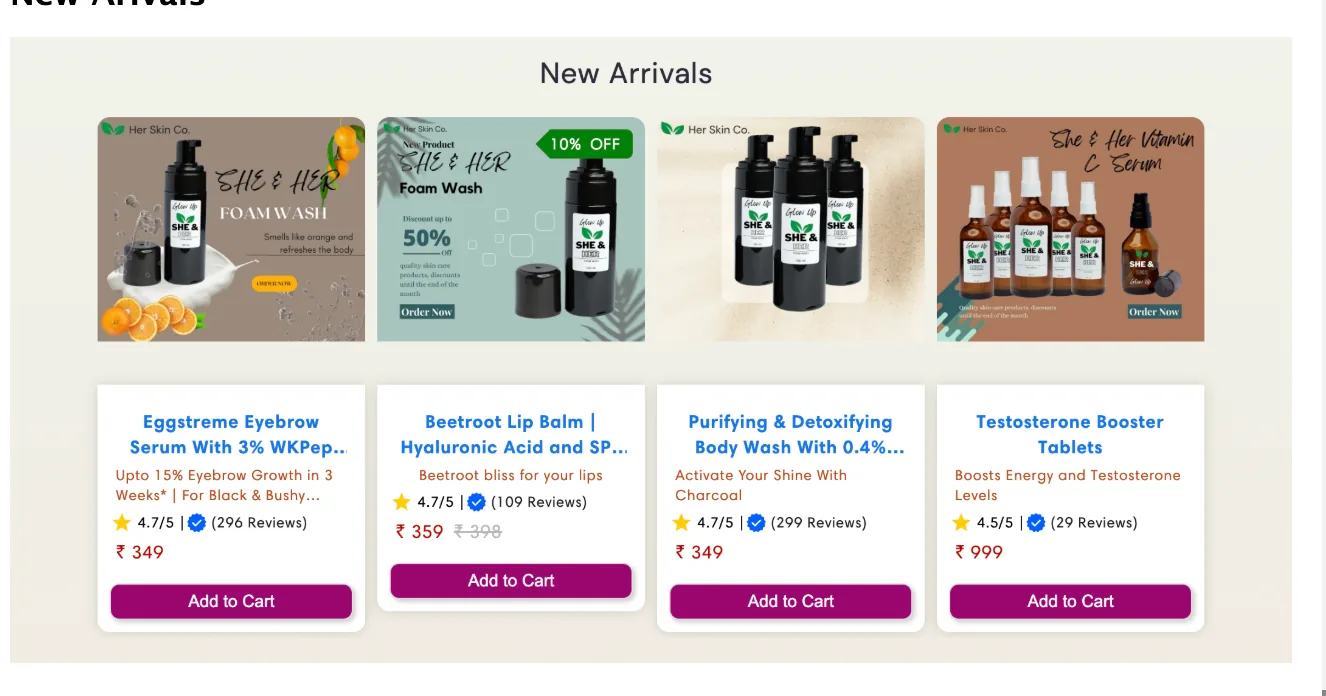
31. Products List. Display collections like "New Arrivals", "Bestsellers", or "Just Restocked" in scrollable rows for easier discovery and browsing.
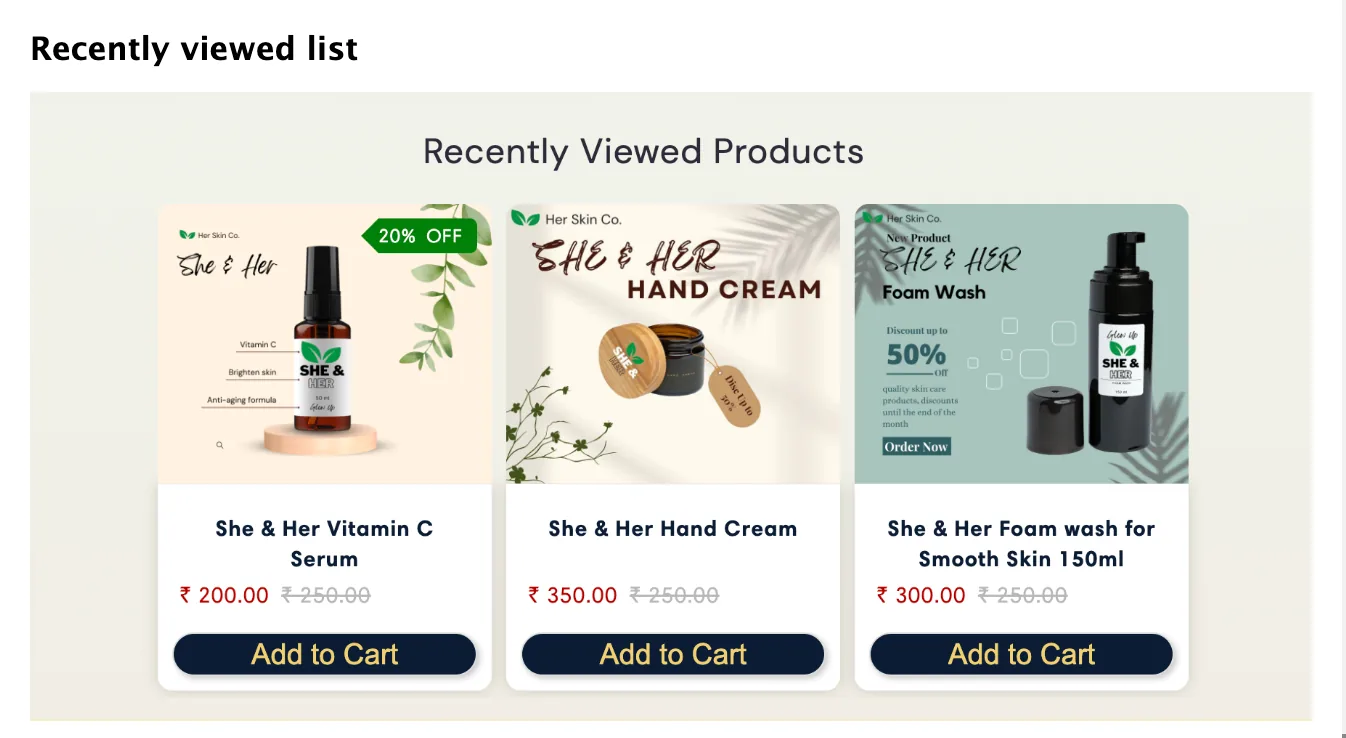
32. Recently Viewed Products List. Help users resume their journey by reminding them of recently viewed items, which also boosts return engagement and conversions.
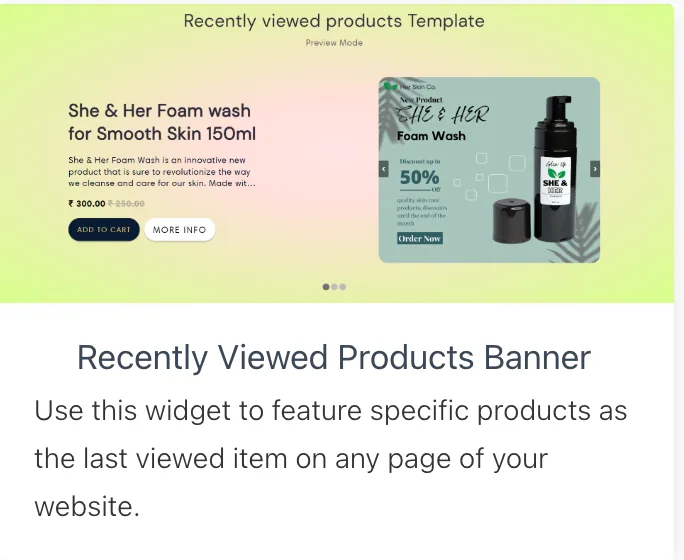
33. Recently Viewed Products Banner. Add a promotional banner that highlights recently viewed items with contextual offers for more personalized remarketing.
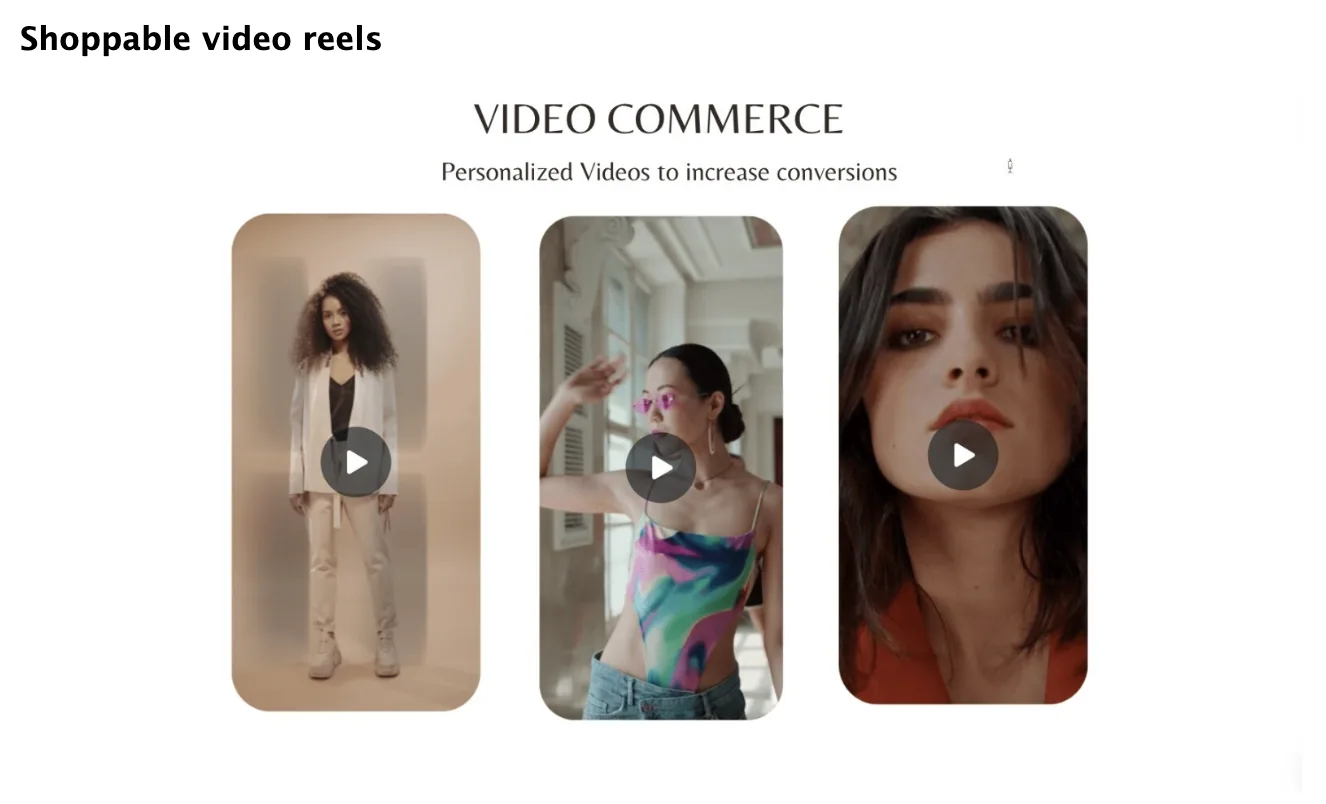
34. Shoppable Video Reels. Embed scrollable short-form videos with clickable purchase links. Good for visual storytelling and driving impulse buys.
CustomFit widgets save you time while you test. Each one can be added, removed, and rearranged through the editor, so you can try new layouts, offers, or trust-building sections in minutes without relying on your dev team.
Target the right audience with CustomFit Segment Conditions
Once you've built your experiment, the next step is deciding who should see what. CustomFit handles this with an audience segmentation engine. You don't have to guess. Define your audience based on behaviour, context, or preferences, and CustomFit takes care of the targeting.
Here are some of the audience conditions you can use to personalize experiences.
1. Goals. Target visitors who've completed specific CustomFit experience goals. For instance, show a thank-you message only to users who reached the "Experience1-Goal1" milestone. This lets you build journeys that respond to user intent and actual engagement patterns.
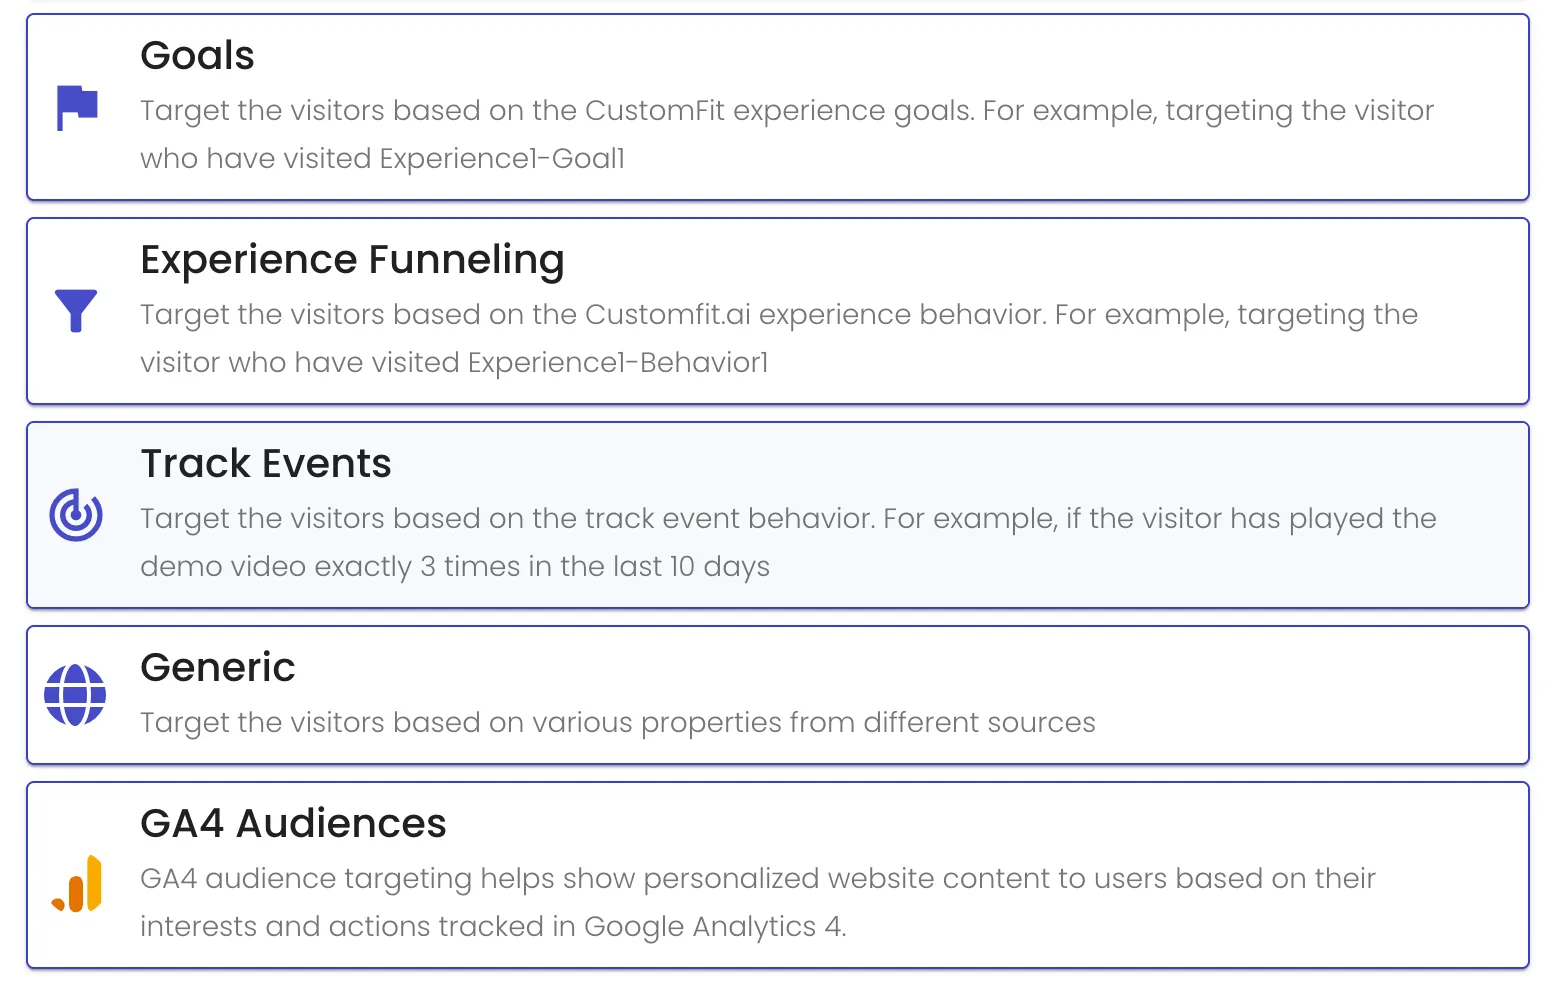
2. Experience Funneling. Segment users based on their interaction with defined experience steps, like who saw "Experience1-Behavior1." This lets you track progress through specific journeys and personalize follow-ups for those who dropped off or completed steps.
3. Track Events. Trigger experiences for users based on specific actions, like playing a video three times in 10 days. Your site then responds to user interest without manual data crunching.
4. Generic. Use conditions that combine multiple visitor properties, like device type, location, or referral source, for broad personalization. Useful when you want simple personalization rules across your traffic.
5. GA4 Audiences. Sync CustomFit with Google Analytics 4 audiences to serve website variations based on cross-platform user insights. You can connect your GA4 segments directly to personalize based on marketing campaign engagement or user journey stages.
6. Click Events. Deliver experiences to visitors who click on specific elements, like sign-up or add-to-cart buttons. You can track micro-interactions and personalize follow-ups or nudges based on interest and activity in real time.
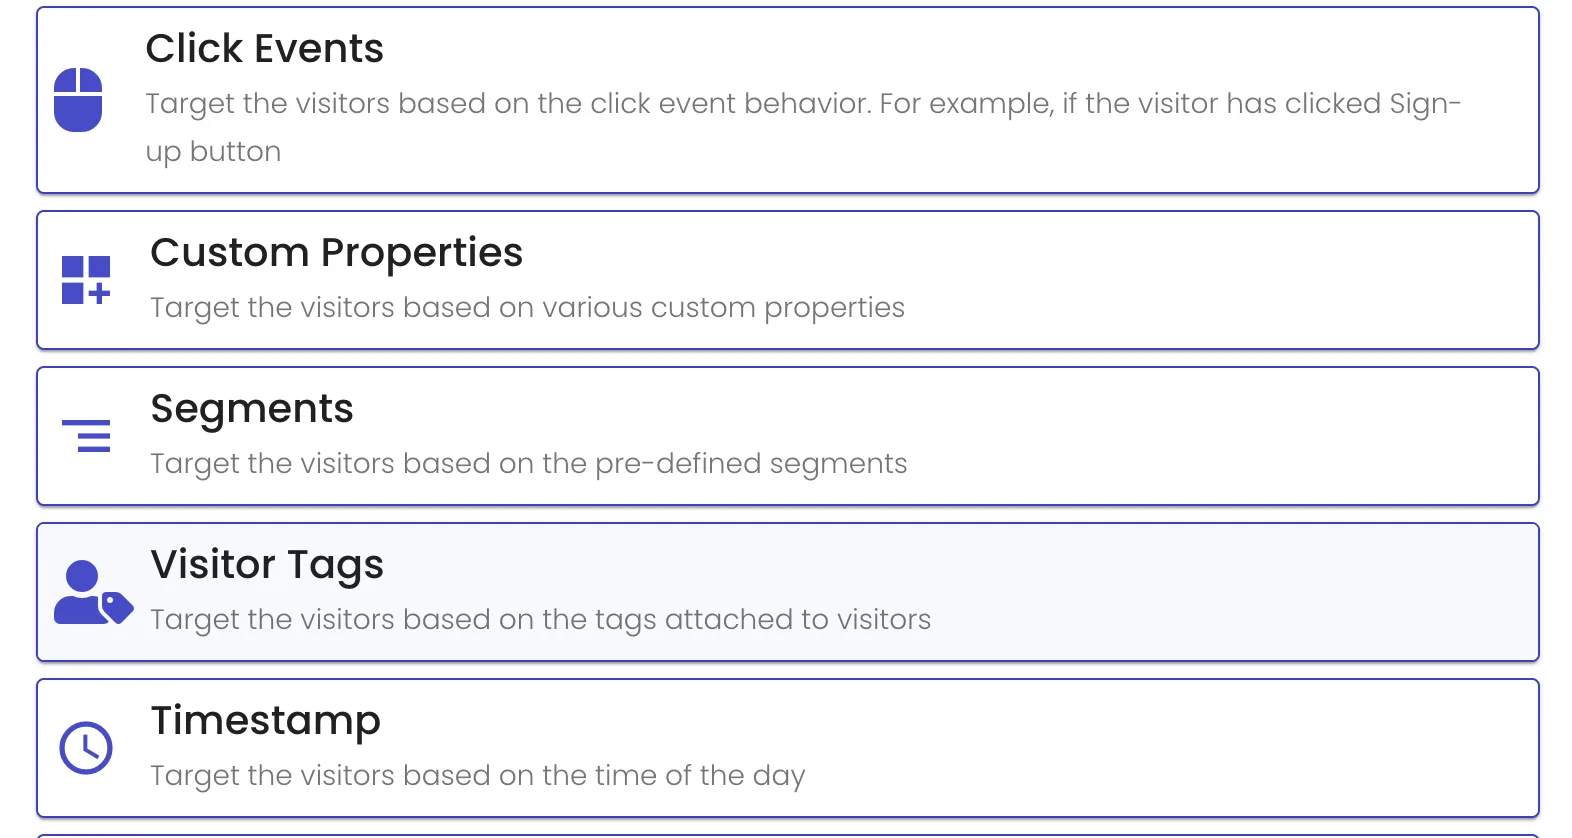
7. Custom Properties. Set up custom fields like "subscriptionType = gold" or "userInterest = skincare" and use them to personalize messaging, products, and layouts for each user across cohorts.
8. Segments. Build and reuse pre-defined audience segments (like "High-Spending Repeat Buyers") across experiments. These segments are dynamic and update automatically, so personalization stays consistent without reconfiguring each time.
9. Visitor Tags. Use tags like "Engaged," "Cart Abandoner," or "First Time" to classify users manually or programmatically, then trigger content variations, alerts, or nudges based on the behavior or lifecycle stage they're tagged under.
10. Timestamp. Target users based on time of day, like showing morning-specific banners between 8 AM and 11 AM. This aligns your offers, content, or CTAs with users' likely mindset based on timing.
11. Gokwik Purchase. Segment visitors based on purchases made via Gokwik. For instance, personalize messages for those who bought Product A in the past week, then suggest complementary purchases or thank them with loyalty offers.
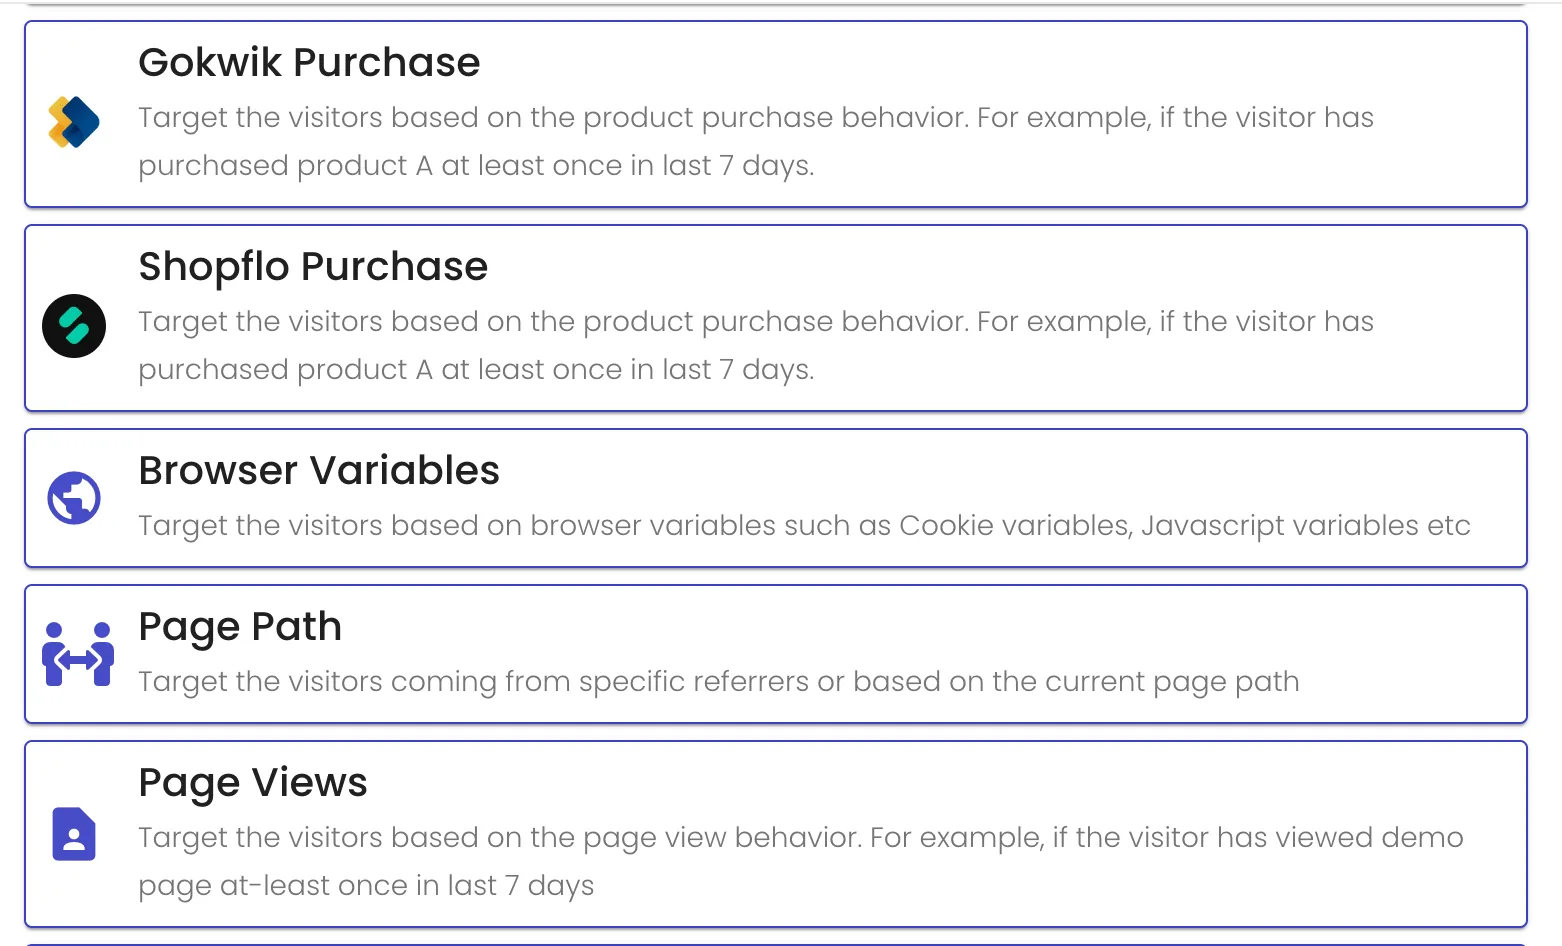
12. Shopflo Purchase. Like Gokwik, target users who completed purchases using Shopflo. Good for post-purchase journeys, upselling, or inviting them to a loyalty program within days of their order.
13. Browser Variables. Use values like JavaScript variables or cookies to personalize based on behavior, past choices, or session data stored in the user's browser, which gives you control over very specific personalization.
14. Page Path. Trigger changes for users browsing a particular URL. If someone visits a campaign landing page, for instance, you can show them follow-up messaging, complementary offers, or even change the navigation to guide their journey.
15. Page Views. Target users who viewed a page a certain number of times, like those who saw the demo page 3+ times. Good for identifying warm leads and nudging them toward conversion.
16. UTM Parameters. Personalize content based on UTM tags (like campaign, source, or medium). This makes sure users from a Google ad or influencer campaign see messages that match what brought them in.
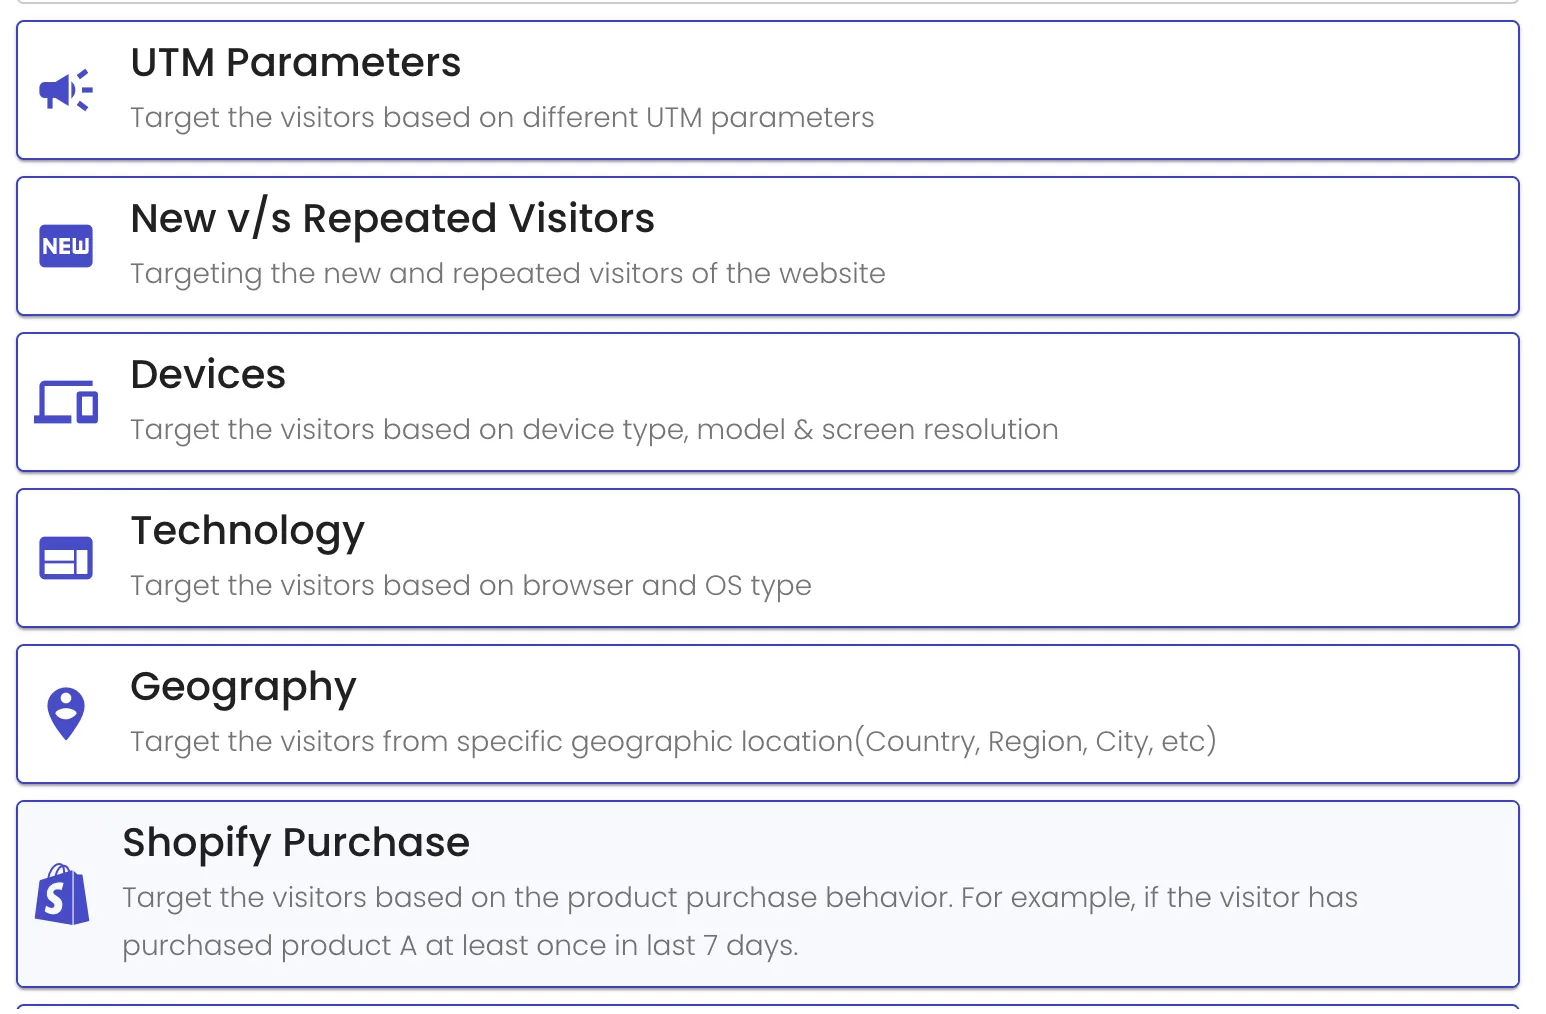
17. New vs Repeated Visitors. Tell first-time and returning users apart. First-timers might need more trust-building content, while repeat users can be nudged with offers or reminded of previously viewed products.
18. Devices. Create device-specific experiences, like simplified layouts for mobile users or fuller product showcases for desktop. You can target based on model, screen size, and resolution.
19. Technology. Segment users based on their browser or OS, such as showing a special Safari message or personalizing experiences for Android versus iOS users. Good for fixing browser-specific friction or improving perceived speed.
20. Geography. Personalize based on location, down to city level. Show local offers, language-specific content, or region-specific delivery messages to build relevance and trust right from the homepage.
21. Shopify Purchase. Target visitors who've purchased a product from your Shopify store. For instance, users who bought Product X can be shown accessories, restock reminders, or exclusive perks when they return.
This is where CustomFit starts to pay off: your experiments don't have to be one-size-fits-all. You can target users as precisely or as broadly as needed, and it's all no-code.
If you've ever worked out, you know a single set of push-ups won't transform your body. A/B testing works the same way.
The biggest wins usually come from consistent, small improvements over time. You test a headline this month. Next month, you test a new offer. Slowly but surely, your website aligns more with what your audience wants.
Treating A/B testing as a normal part of your workflow is what separates high-converting stores from average ones. You don't have to get it perfect the first time. You just have to start: learn from the results, adjust, and try again.
A/B testing is simple in concept but often misunderstood. Here are a few myths worth clearing up.
Not true. You don't need 10,000 visitors a day. Start with whatever traffic you have. Even small wins, like a 3% lift in conversions, add up over time.
This is the fastest way to get confusing results. Testing too many variables together gives you no clarity on what worked. One thing at a time.
It doesn't work that way. Audiences change. What worked in June might not work in December. A/B testing is a habit, not a one-time task.
Short answer: you're never really done. But each test has a lifecycle. You're done for now when one version clearly outperforms the other, you've hit your traffic goal for statistical confidence, and the test has run for enough days to avoid early noise.
Then it's time to lock in the winner and move to the next question. You're always learning.
If this guide got you thinking about what you could test on your own store, we'd be glad to show you how it works in real time. You can book a short demo here, no prep needed.
Your Shopify store isn't just a collection of pages and products. It's an experience, and every detail shapes whether people trust you enough to buy.
A/B testing isn't magic, and it isn't glamorous. But it's one of the few things that gives you direct, honest feedback from your customers. You're not guessing. You're learning.
If you're serious about improving your store's performance without relying on luck or assumptions, start testing. Start small, stay curious, and keep iterating.
And if the technical side ever feels like a blocker, tools like CustomFit.ai are here to make the process easier, more intuitive, and (dare we say it?) actually enjoyable.
Your customers are already telling you what they want. A/B testing just helps you listen better.